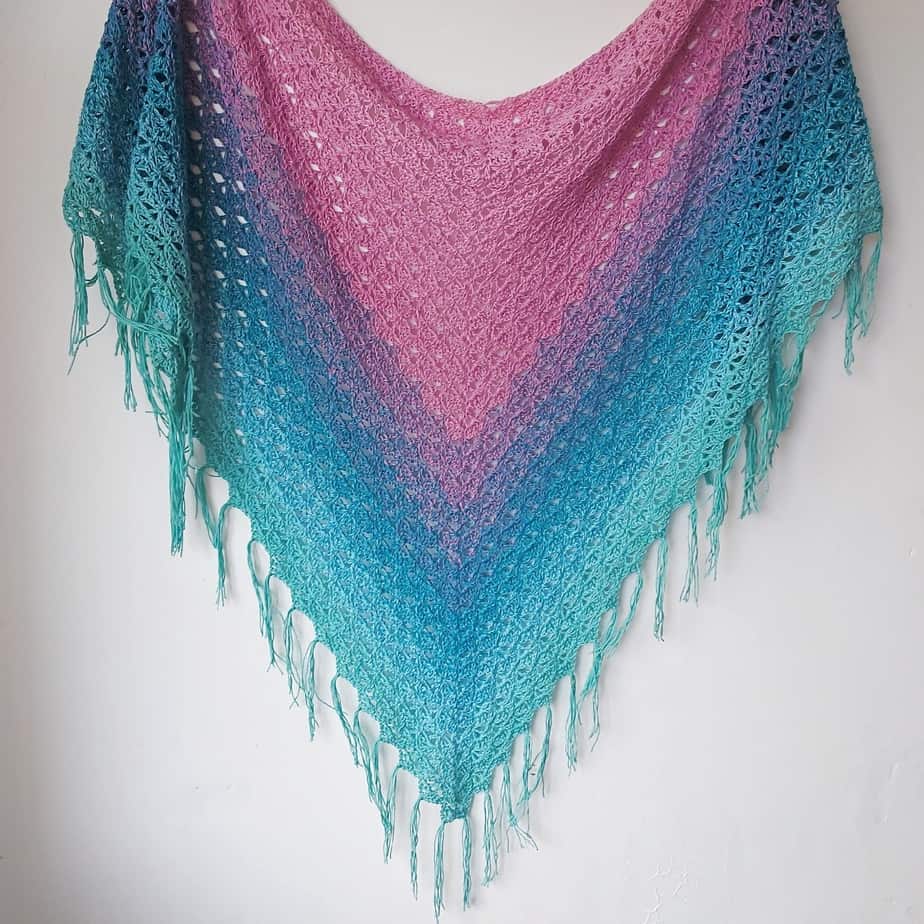
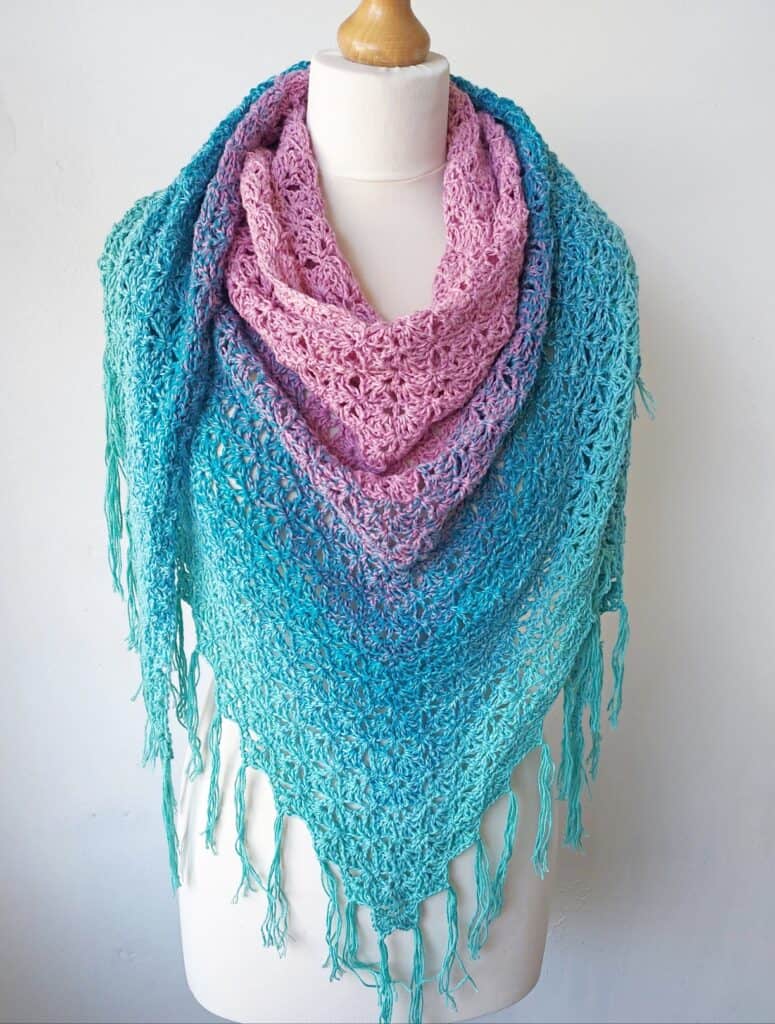
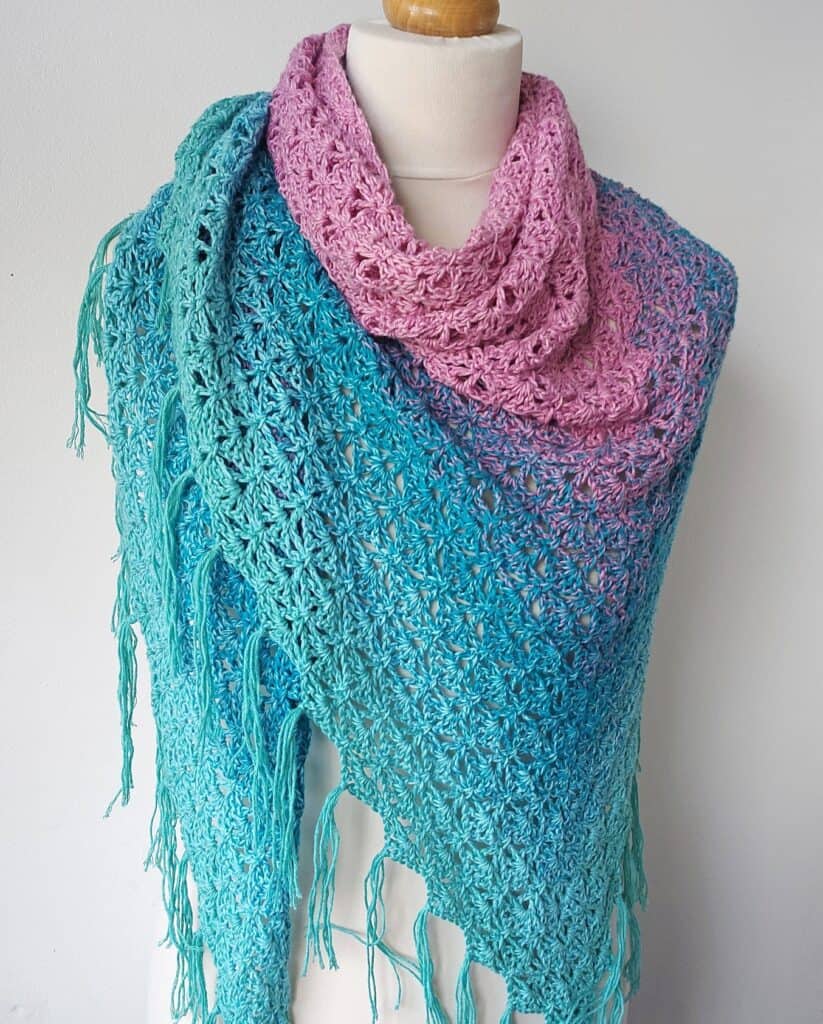
Florentina is a light and delicate Crochet Lace Triangle Shawl made in a beautiful gradient yarn. This pretty shawl works up quickly with an easy 2-row repeat pattern. Add a small fringe for a stylish touch! The free pattern includes a video tutorial below.
Blocking is recommended to open up the stitches in the lace pattern, creating a diaphanous airy shawl. You will need just one fingering weight yarn cake and a 4mm crochet hook.
How to get the Pattern for this Crochet Lace Triangle Shawl
- Free Pattern: Scroll down this blog post for the Instructions including a Video Tutorial.
- Printable PDF: Adfree printable pattern with 5 pages including all details. Thank you for your support! – Purchase on Ravelry and on Etsy
Check out some other Free Crochet Shawl Patterns on my blog
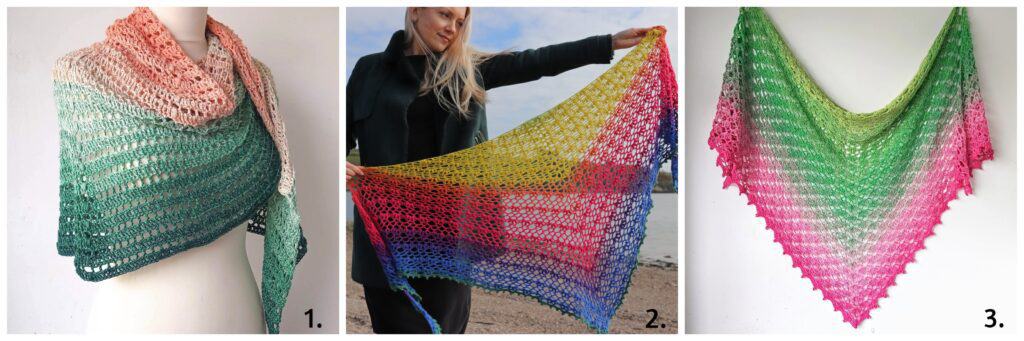
1. Apricot Rose Semi-Circle Shawl
2. Seamrog Romantic Lace Shawl
3. Fragrant Shawl with Lace Shells
You may also enjoy Ruby Glimmer a boho inspired triangle crochet shawl.
Stitches For the Lace Triangle Shawl
Only basic stitches are used in this crochet triangle shawl pattern but some concentration is required until pattern repeat is established.
The crochet pattern includes written instructions for the first 7 rows. You can also find a video tutorial below.
Pattern written in US crochet terms.
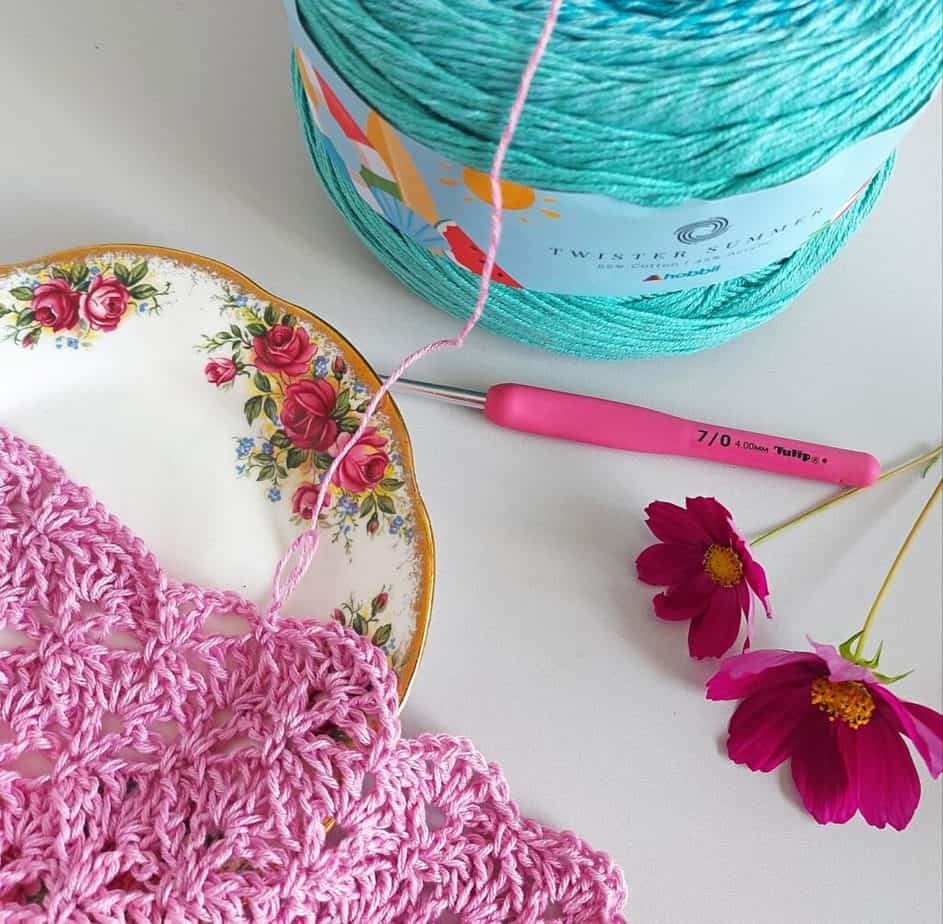
Gradient Yarn Cake Details
The shawl was crocheted using a ball of Hobbii Twister Summer a lovely cake-yarn I had in my stash. It is marked as a Sportsweight yarn but it feels and works up like a Fingering weight.
Most similar weight gradient yarn cakes will have between 800m to 1000m of yarn and work great for this pattern. I used a 4mm crochet hook but you may find a 3.5mm hook more suitable for your tension, especially if you crochet more loosely.
The pattern looks so lovely in a gradient cake yarn but 2 skeins of any fingering weight yarn from your stash would also look beautiful – you can get creative with the way you use the colours!
The pattern will work with any weight yarn and matching crochet hook. Once you have the pattern repeat established, you can stop when your shawl is big enough, or you run out of yarn.
Measurements
Shawl pictured measures 84” [213 cm] wide x 38” [96 cm] deep after blocking before optimal fringe is added
Materials
- Hobbii Twister Summer – Beach Volleyball (05) Sport/ 55% Cotton, 45% Acrylic/ 250g/ 1000 m (1,094 yds)
- 4mm crochet hook
- Stitch Marker
You can use 800 – 1000m of any fingering/sports-weight yarn. You can use a yarn weight of your choice and matching hook.
Abbreviations
US Crochet terms
- Sc single crochet
- Dc double crochet
- Ch chain
- St stitch
- Rep repeat
- Beg beginning
- Sp space
- PM place marker
UK Crochet terms
- Dc double crochet
- Tr treble crochet
- Ch chain
- St stitch
- Rep repeat
- Beg beginning
- Sp space
- PM place marker
Video For Crochet Lace Triangle Shawl
Notes (read carefully)
- Shawl is a top-down triangle design increasing on each side and in the centre
- Ch 4 at beginning of a row counts as a v-st
- Ch 3 at beginning of a row counts as 1 dc
- The shawl can be made larger or smaller by working more or fewer pattern repeats. This may alter the amount of yarn required.
- Includes written instructions. Pattern written in US crochet terms
- Gauge is not important.
- Instructions for rows 1-7 are written out completely. Please read carefully before starting pattern.
- I recommend you use a stitch marker for your centre stitch every row. It is important to follow pattern carefully for the first few rows and place a marker in the centre stitch when the pattern instructs – in centre sc or centre dc in alternating rows.
Special Stitches
Long Single Crochet (long sc) or a Spike Stitch – work a sc over a ch-sp into the indicated ch-1 sp 2 rows below
Fan Shell – [1 dc, ch 1, 1 dc, ch 1, 1 dc, ch 1, 1 dc] in indicated ch-sp
V-Stitch (v-st) – [1 dc, ch 1, 1 dc] in indicated st
Instructions for Crochet Lace Triangle Shawl
Ch 5, sl st into 1st ch to form a ring
Row 1: Ch 3 (counts as 1 dc here and throughout), Fan Shell (see special stitches), ch 1, 1 sc (place marker in sc just made), ch 1, fan shell, 1 dc in ring, turn – 2 dc, 2 x fan shells, 1 sc, 2 x ch-1 sp
Row 2: Ch 4, 1 dc in 1st st at base of ch 4 (ch 4 and 1 dc counts as 1 v-st here and throughout at beg of a row), ch 5, skip next fan shell and next ch-1 sp, (1 dc, ch 1, 1 dc (PM in dc just made), ch 1, 1 dc) in marked centre sc, ch 5, skip next ch-1 sp and next fan shell, v-st in last st (top of beg ch 3), turn – 2 x v-st, 3 dc, 2 x ch-1 sp, 2 x ch-5 sp
Row 3: Ch 3, fan shell in ch-1 sp of 1st v-st, ch 1, long sc (see special stitches) into centre ch-1 sp of next fan shell 2 rows below, ch 1, fan shell in ch-1 sp before marked centre st, ch 1, 1 sc in marked centre st (PM in sc just made), ch 1, fan shell in ch-1 sp after marked centre st, ch 1, long sc into centre ch-1 sp of next fan shell 2 rows below, ch 1, (fan shell, 1 dc) in last v-st, turn – 2 dc, 4 x fan shells, 3 sc, 6 x ch-1 sp
Row 4: Ch 4, 1 dc in 1st st at base of ch 4, ch 5, skip next fan shell and next ch-1 sp, v-st in next long sc, ch 5, skip next ch-1 sp, next fan shell and next ch-1 sp, (1 dc, ch 1, 1 dc (PM in dc just made), ch 1, 1 dc) in marked centre sc, ch 5, skip next ch-1 sp, next fan shell and next ch-1 sp, v-st in next long sc, ch 5, skip next ch-1 sp and next fan shell, v-st in last st, turn – 4 x v-st, 3 dc, 2 x ch-1 sp, 4 x ch-5 sp
Row 5: Ch 3, fan shell in ch-1 sp of 1st v-st, ch 1, long sc into centre ch-1 sp of next fan shell 2 rows below, ch 1, fan shell in next v-st, ch 1, long sc into centre ch-1 sp of next fan shell 2 rows below, ch 1, fan shell in ch-1 sp before marked centre st, ch 1, 1 sc in marked centre st (PM in sc just made), ch 1, fan shell in ch-1 sp after marked centre st, ch 1, long sc into centre ch-1 sp of next fan shell 2 rows below, ch 1, fan shell in next v-st, ch 1, long sc into centre ch-1 sp of next fan shell 2 rows below, ch 1, (fan shell, 1 dc) in last v-st, turn – 2 dc, 6 x fan shells, 5 sc, 10 x ch-1 sp
Row 6: Ch 4, 1 dc in 1st st at base of ch 4, ch 5, skip next fan shell and next ch-1 sp, * v-st in next long sc, ch 5, skip next ch-1 sp, next fan shell and next ch-1 sp; rep from * across until marked centre sc, (1 dc, ch 1, 1 dc (PM in dc just made), ch 1, 1 dc) in marked centre sc, ch 5, skip next ch-1 sp, next fan shell and next ch-1 sp, * v-st in next long sc, ch 5, skip next ch-1 sp, next fan shell and next ch-1 sp; rep from * across, v-st in last st, turn
Note: on last repeat you will not be skipping a final ch-1 sp, but working into last st.
Row 7: Ch 3, fan shell in ch-1 sp of 1st v-st, ch 1, long sc into centre ch-1 sp of next fan shell 2 rows below, ch 1, * fan shell in next v-st, ch 1, long sc into centre ch-1 sp of next fan shell 2 rows below, ch 1; rep from * across until you reach ch-1 sp before marked centre st, fan shell in ch-1 sp before marked centre st, ch 1, 1 sc in marked centre st (PM in sc just made), ch 1, fan shell in ch-1 sp after marked centre st, ch 1, long sc into centre ch-1 sp of next fan shell 2 rows below, ch 1,* fan shell in next v-st, ch 1, long sc into centre ch-1 sp of next fan shell 2 rows below, ch 1; rep from * across, (fan shell, 1 dc) in last v-st, turn
Rows 8 – 61: Repeat rows 6 & 7
You can finish your shawl at the size you prefer to make it smaller or larger. Just make sure you finish on a row 7.
Finishing
Weave in all loose ends. Soak your shawl in lukewarm water and gently wring in a towel. Lay project out to finished size and pull gently into shape. Pin in place making sure to place a pin in the centre of each fan on your final row. Leave to dry.
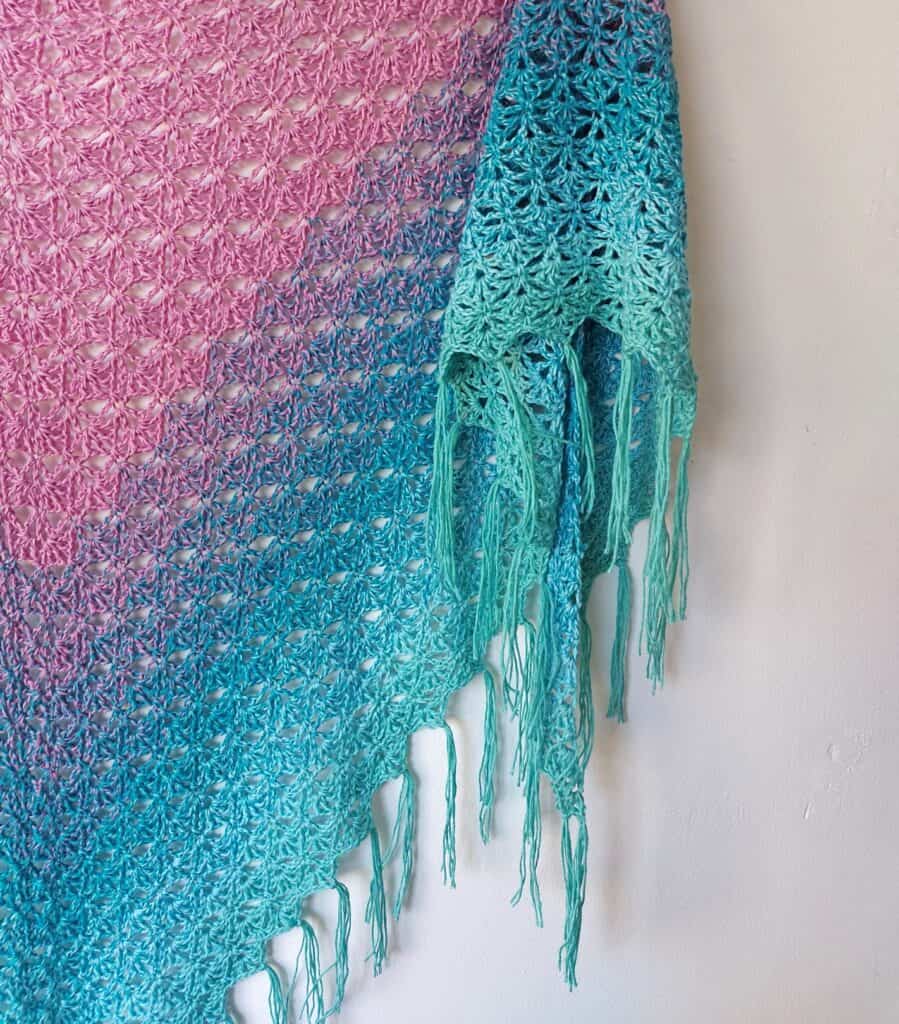
Fringing
Cut lengths of yarn approximately 8in/15cm. Make fringes using 3 strands of yarn and fold in half to make each fringe 6 strands. Attach fringes evenly along each end of shawl, adding a fringe piece to centre of each fan. Trim if needed.
You can purchase the ad-free PDF version of this pattern on Ravelry and Etsy
The PDF is designed for printing. Thank you for your support!
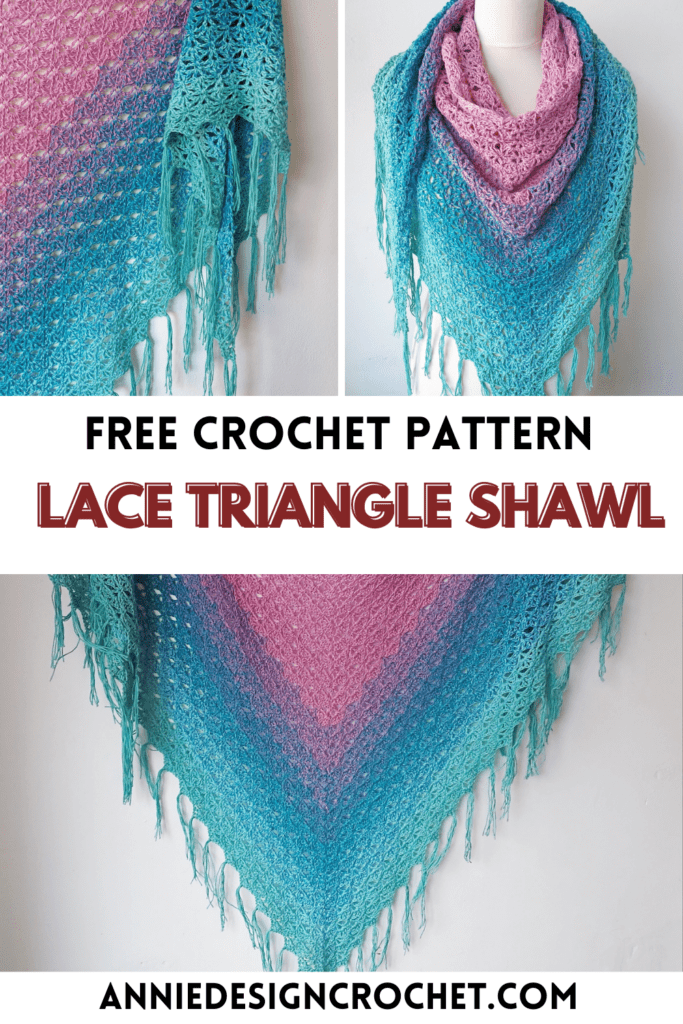
Pin for Later!
Find more Free Crochet Patterns here
If you make this pattern, don’t forget to follow me on Instagram and be sure to tag me in your photos so I can see it too, @anniedesigncrochet or #anniedesigncrochet – I can’t wait to see what colours you use with this pattern!
The photographs and pattern contained on this page are the property of Annie Design Crochet.com.
You are welcome to use this pattern to make items to sell, and I would appreciate that you include a link to the free pattern with credit for the designer, thank you!
No unauthorized reproduction, in whole or in part, or distribution of this pattern or content is permitted.
The Shawls are beautiful I love to try my hand at making at all of them.
Thank you!