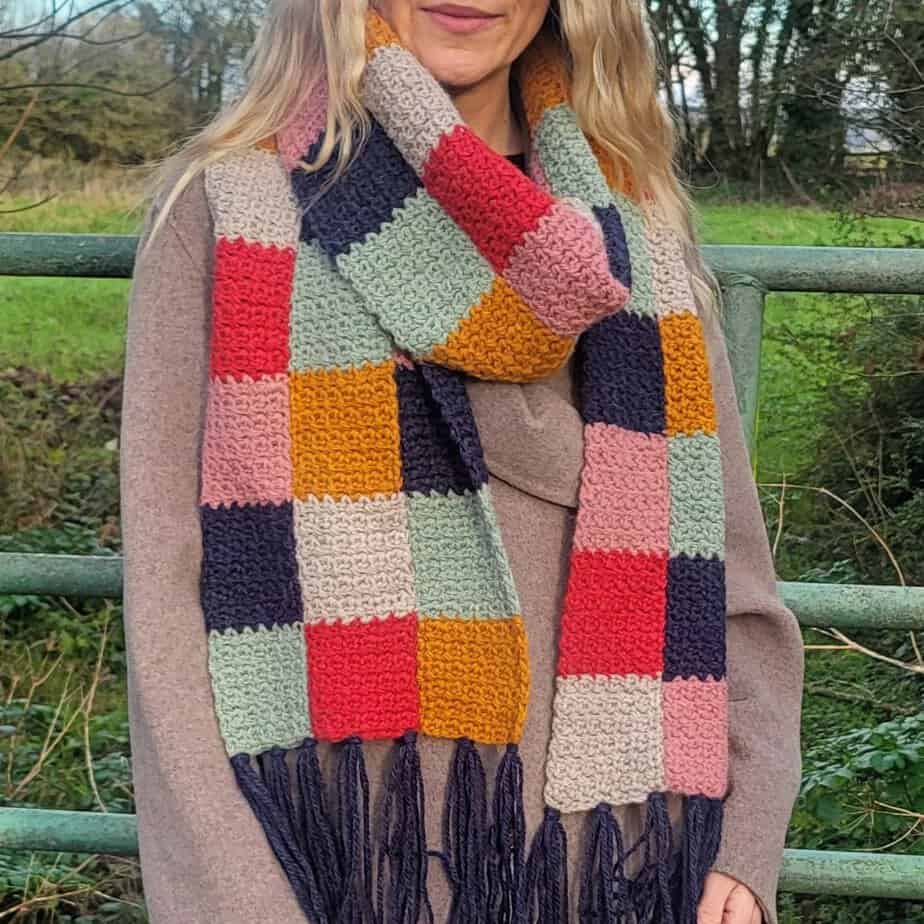
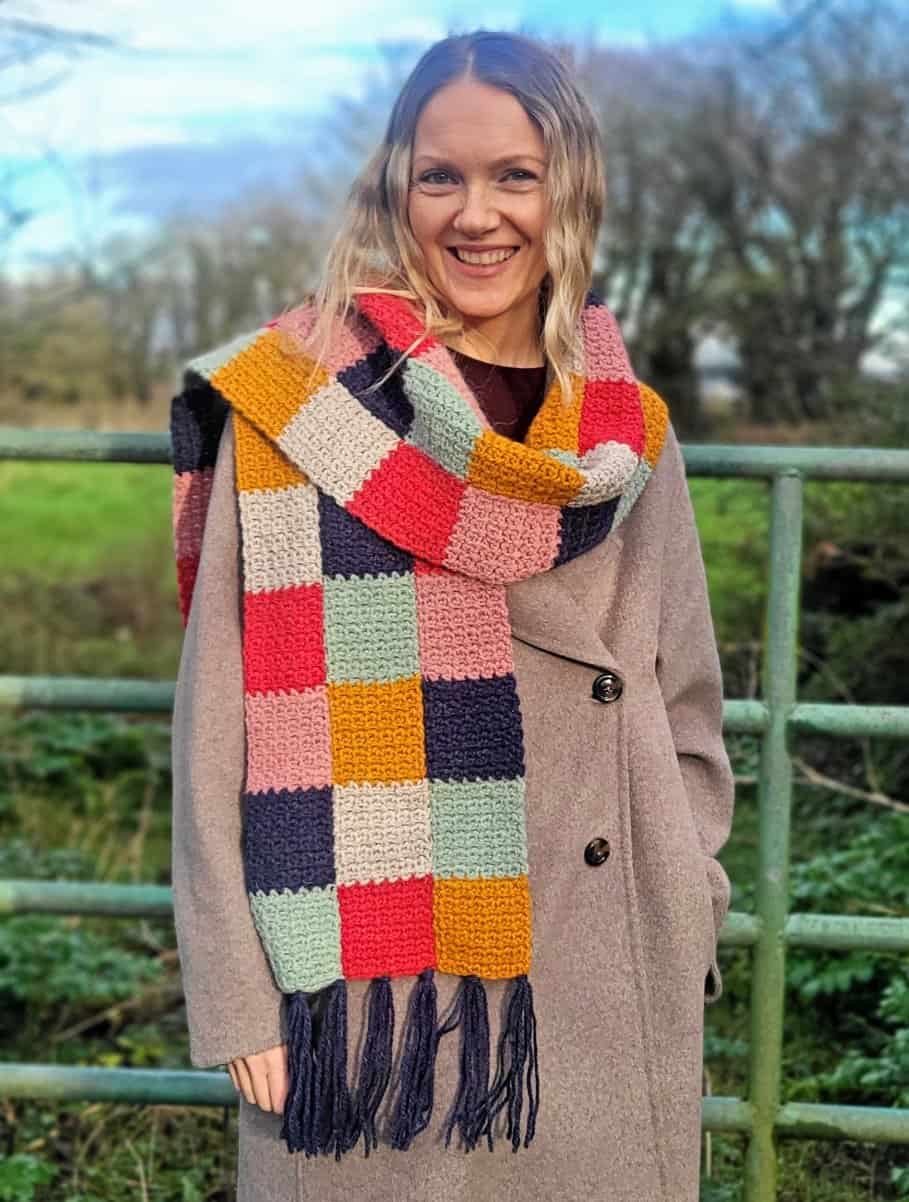
Patchwork is one of my favorite crafts, and I love finding ways to create it in crochet. That’s what inspired this patchwork crochet scarf pattern. This scarf is full of color and texture, and I think you are going to enjoy making it from the first square to the last!
It is an easy crochet scarf, perfect for beginners, yet it looks far more complex than it really is. You’ll crochet three long strips in a simple textured stitch, changing color as you go to keep things interesting. Join the three strips, add a soft fringe, and you have a scarf that is as lovely to wear as it is to crochet. The free pattern is right here on the blog, so you can get started whenever you’re ready.
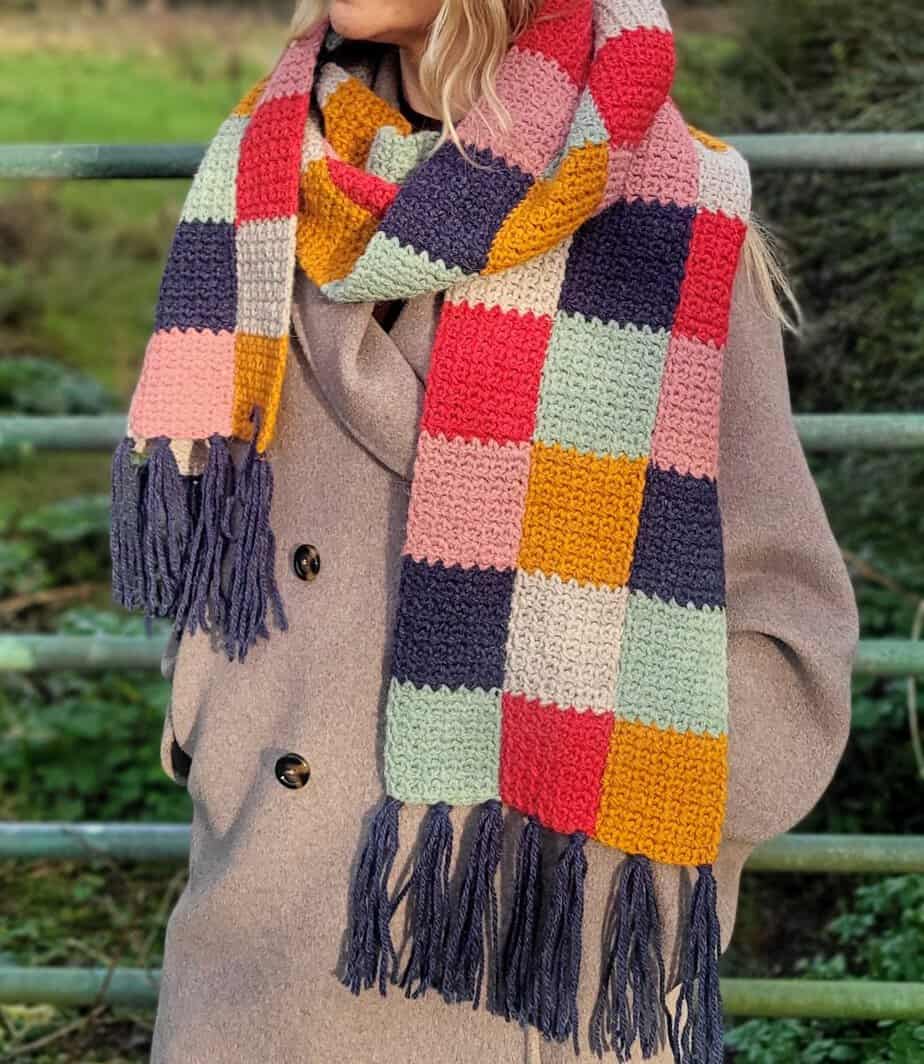
Pattern Overview
- Skill Level: Easy
- Yarn: Worsted weight, approx. 820 yd [750 m] in 6 colors (perfect for scraps)
- Hook: 5.5mm
- Finished size: 9.5 in [24 cm] wide and 76 in [193 cm] long
- Stitches used: chain, single crochet
Patchwork Crochet Scarf Pattern Details
This crochet scarf pattern is worked lengthwise in a simple stitch with a one-row repeat. It gives a soft, textured fabric that is easy to learn and quick to memorize. Each strip has 24 squares, and each square measures approx. 3.15 inches, so you can watch your progress grow one square at a time.
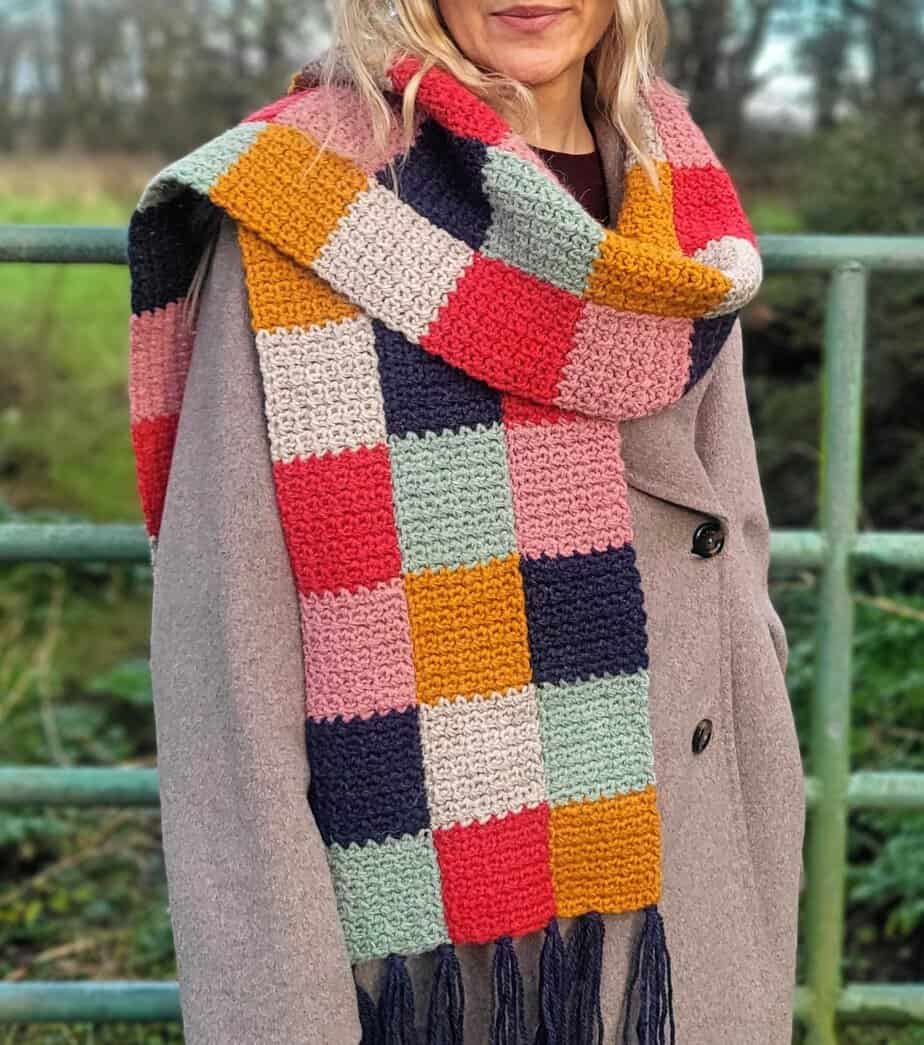
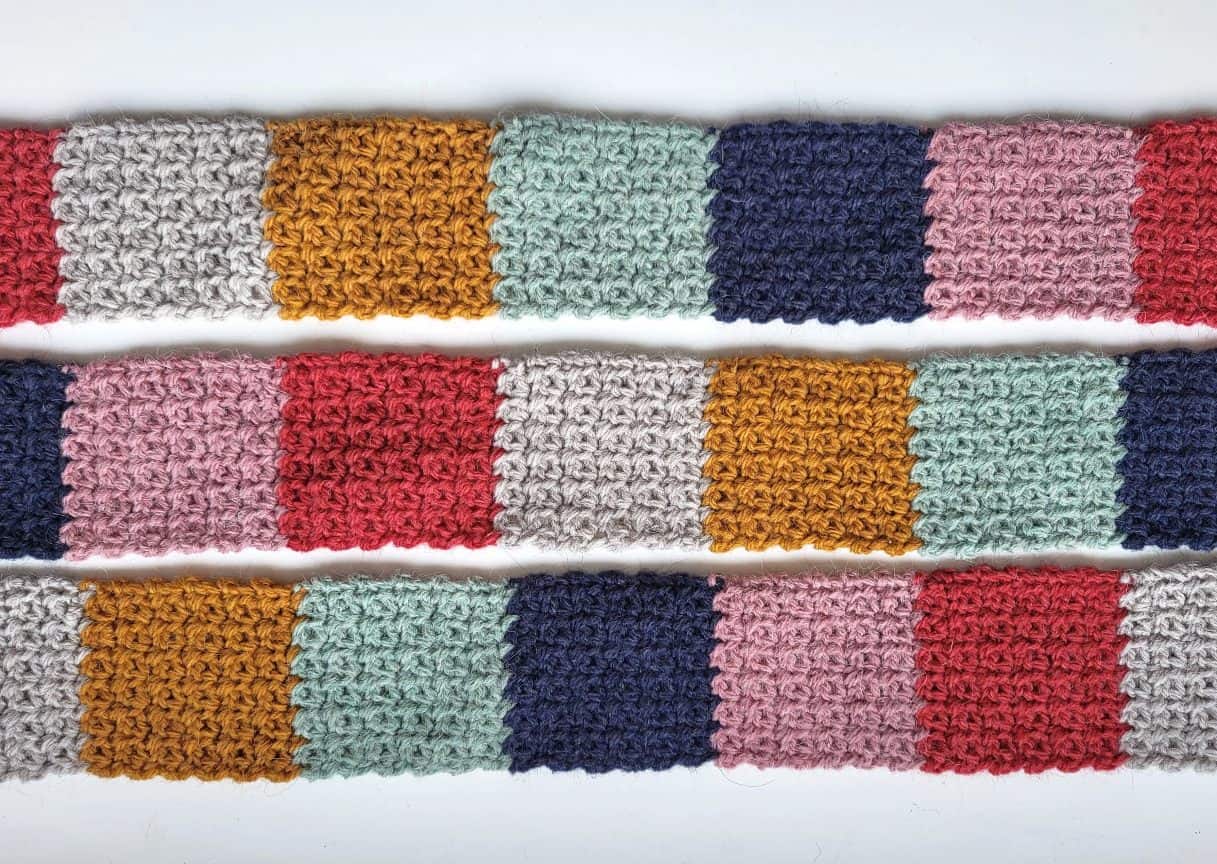
Each strip follows its own color order, starting at a different point in the sequence, so no two squares sitting side by side ever match. That is what creates the beautiful patchwork look!
I used Rico Soft Alpaca and a 5.5 mm hook, but this is such a wonderful scrap yarn scarf too. Each square only uses a small amount, so it is a lovely way to use up your leftovers. Just keep to the same yarn weight throughout, so your squares are all the same size and line up neatly when you join them.
Joining the Crochet Strips
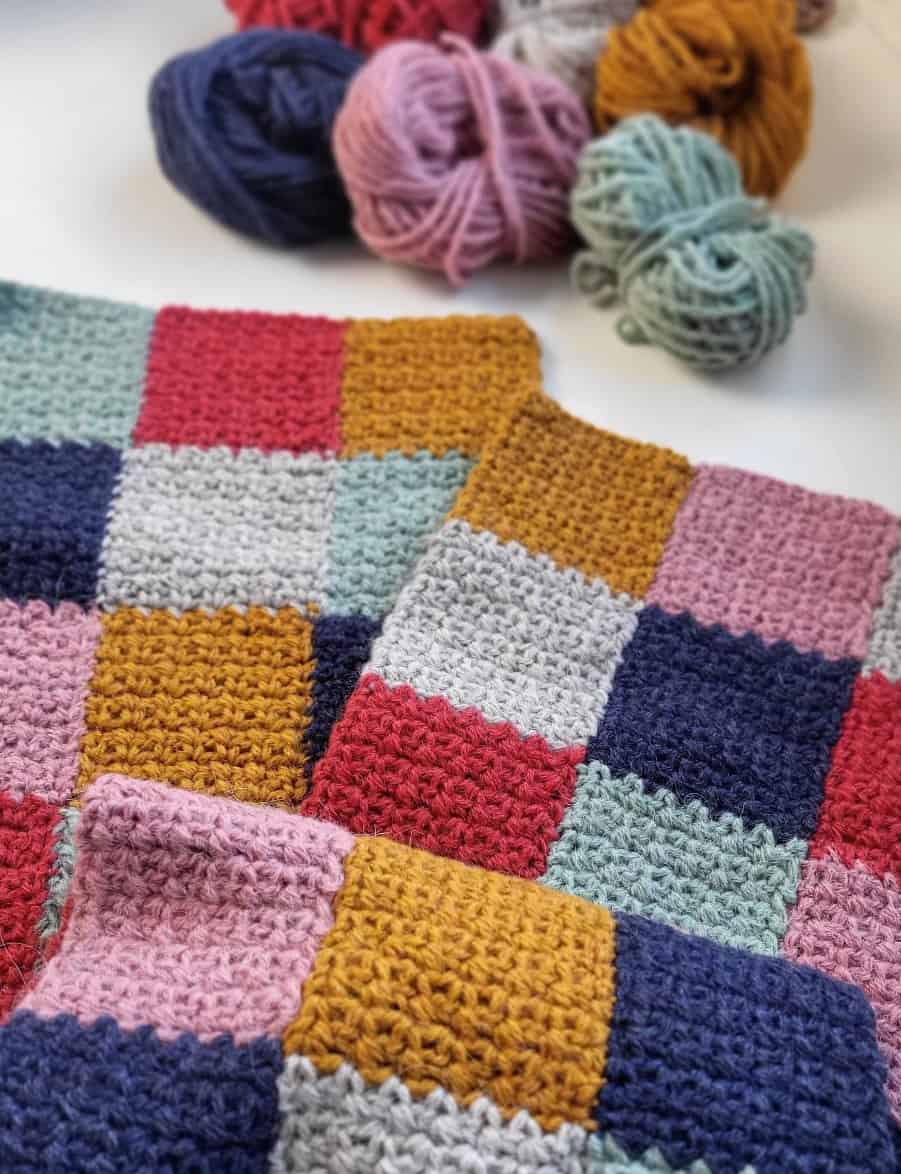
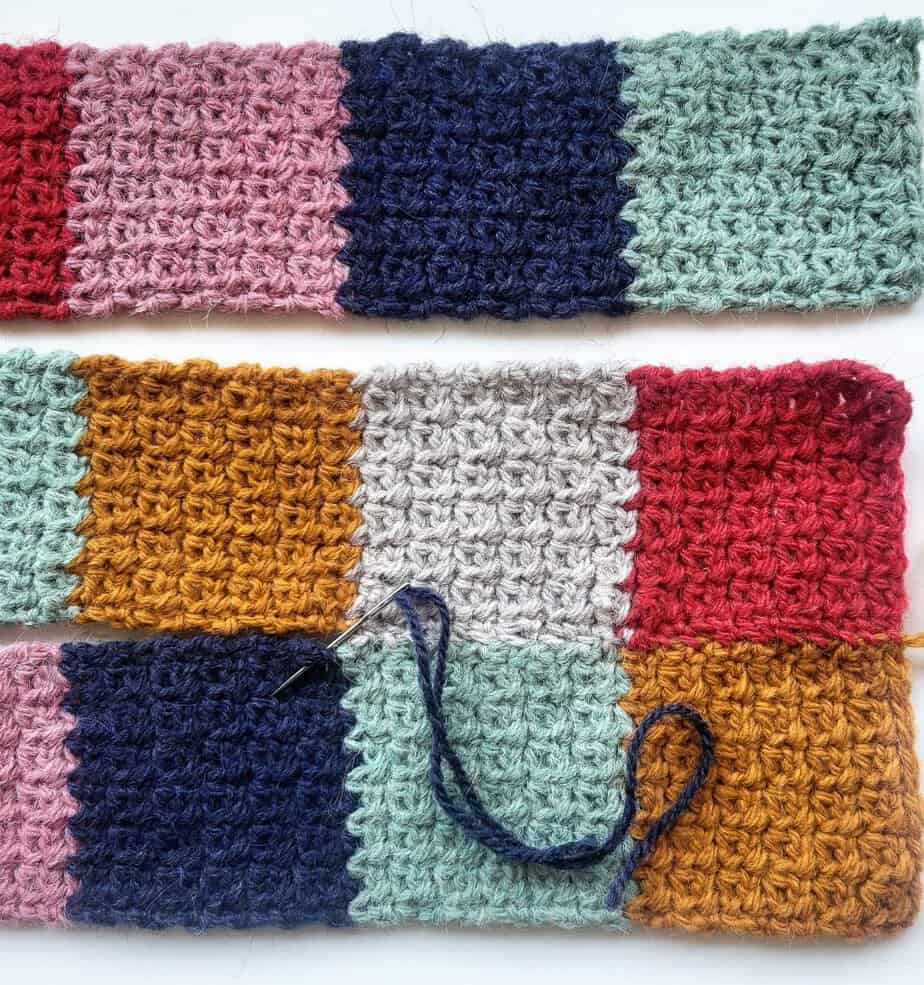
I wanted a clean join that looks good from both sides, so I sewed my strips together. Each time I joined two squares, I changed color in my yarn needle and used the yarn of either square.
I inserted my needle from one side to the other, catching a thread each time, and whipstitched each side together until I reached the next two squares.
Tip: leave a long tail at each color change, so you have it ready for sewing each square together later. I did not, and I regretted it! I still found this method easy and quick.
- Free Crochet Pattern: scroll down the blog post for the pattern instructions.
- Printable PDF: Ad-free PDF pattern including all details of pattern. Thank you for your support! Purchase on Ravelry and on Etsy
Why You’ll Love This Free Patchwork Scarf Crochet Pattern
- Easy crochet scarf pattern, suitable for beginners or a relaxing project for anyone
- Fun combination of color and texture with a simple stitch pattern
- A clever patchwork design made from three easy-to-join strips
- Great scrap yarn project for using up worsted weight yarn from your stash
- Generously sized and finished with a soft, cosy fringe
Yarn Suggestions for the Patchwork Crochet Scarf
I used the following amount of yarn and hooks for my scarf:
- 820 yards/750 meters of worsted weight yarn in 6 different colors
- 5.5 mm hook
The alpaca content in this yarn gives it a beautiful, soft halo, while the wool adds durability for a scarf you can enjoy for years to come. You can use any worsted weight yarn for this pattern, but keep in mind that choosing a different fiber content may change the texture and drape of your finished scarf.
More Patchwork Crochet Patterns
If you love the patchwork look, here are a few more colorful crochet patterns made up of squares in a variety of shades:
- Patchwork Bandana Head Scarf, which can also be worn as a neckerchief
- Advent Echos Scarf, made with mini skeins
- Revamped Granny Square Scarf, from 14 brightly-colored granny squares
- Granny Jewel Blanket, from simple granny squares in different variegated yarns
Bramley Patchwork Crochet Scarf Pattern
Bramley scarf is worked in a light, textured stitch with each panel in blocks of color, creating a patchwork effect that is bold, cheerful, and endlessly customizable. Six colors give you that classic patchwork look, but this design is easy to adapt to whatever you have in your stash, making every scarf a little different.
Materials
- Rico Soft Alpaca – 60% acrylic, 20% alpaca, 20% wool/ 50g – 125m
- One ball each of A (009) beige, B (002) mustard, C (007) pink, D (010) red, E (003) aqua, F (012) navy
- 5.5mm hook
Any worsted weight yarn would work for this pattern. You will need approx. 750m /300g of worsted weight yarn in 6 colors.
Notes
- Pattern written in US crochet terms
- Ch 1 at the beginning of a row does not count as a stitch.
- Leave a 12 in [30 cm] tail at each color change. You will use these to join your panels later.
- Each of the 3 panels is worked as one continuous strip lengthwise, with a new “square” formed every 12 rows.
Abbreviations
US Crochet Terms
- Sc – single crochet
- Ch – chain
- Sl St – slip stitch
- Rep – repeat
- Beg – beginning
Measurements
- Width is 9.5 in [24 cm]
- Length is 76 in [193 cm]
- Each panel is approx. 3.15 in [8 cm] wide
Gauge
One square (12 rows) measures approx. 3.15 in [8 cm] square, using a 5.5mm hook.
Color Sequence
(Work each color sequence 4 times)
Panel 1: A, D, C, F, E, B
Panel 2: C, F, E, B, A, D
Panel 3: B, A, D, C, F, E
Printable PDF: Ad-free PDF pattern including all details of pattern. Thank you for your support! Purchase on Ravelry and on Etsy
Instructions for Scarf
Panel (make 3)
You will make 3 panels in total, each following its own color sequence as listed above. Once all 3 panels are complete, you will join them together to form the finished scarf.
Using 1st color, ch 14
Row 1: 1 sc in 2nd ch from hook, * ch 1, skip next ch, 1 sc in next ch; rep from * across to last 2 chs, ch 1, skip next ch, 1 sc in last ch. Turn – 7 sc, 6 x ch-1 sp
Row 2: Ch 1 (does not count as a stitch), 1 sc in 1st st, * ch 1, skip next ch-1 sp, 1 sc in next st; rep from * across to last 2 chs, ch 1, skip next ch-1 sp, 1 sc in last st. Turn – 7 sc, 6 x ch-1 sp
Rows 3 – 12: Rep Row 2.
You have now completed 1 square of the panel.
At the end of Row 12, work the last yarn over of the final stitch with the new color to complete the color change. Cut the old color, leaving a 12 in [30 cm] tail, and continue Row 2 in the new color for the next 12 rows.
Repeat every 12 rows, following the color sequence for your panel, until you have 24 squares.
Tip: Leave a long tail at each color change rather than a short one. You will use this tail to join your panels later, and it saves you from having as many ends to weave in.
Joining the Panels
With right side facing up, place Panel 1 and Panel 2 side by side, matching up the squares along the edge.
Thread a tapestry needle with the tail from the first square (or a new length of yarn in the same color if no tail was left). Working through both loops on each side, whip stitch the two edges together, catching a strand of yarn with each stitch, until you reach the end of the square.
When you reach the next square, weave in the end, then rejoin with a new length of yarn matching the color of either adjoining square, and continue whip stitching along the next 12-row section.
Repeat to the end of the panel, matching squares as you go. Repeat the same process to join Panel 3 to Panel 2.
Fringing
Cut 56 strands of yarn, each approx. 13 in long, using your chosen color.
- Take 4 strands and fold them in half together to make one fringe (8 strands total). Repeat to make 14 fringes.
- To attach a fringe, insert your crochet hook from front to back through a stitch or space along the short edge of the scarf. Pull the folded loop of the fringe through the stitch, then pull the loose ends through the loop and tighten to secure.
- Attach 7 fringes evenly spaced across each end of the scarf.
- Once all fringes are attached, trim them evenly to approx. 6 in long.
Finishing
Lay scarf out to finished size and pull gently into shape. Pin in place. Spray lightly with water and leave to dry. You can wet block if desired – check your yarn fiber instructions.
PIN FOR LATER
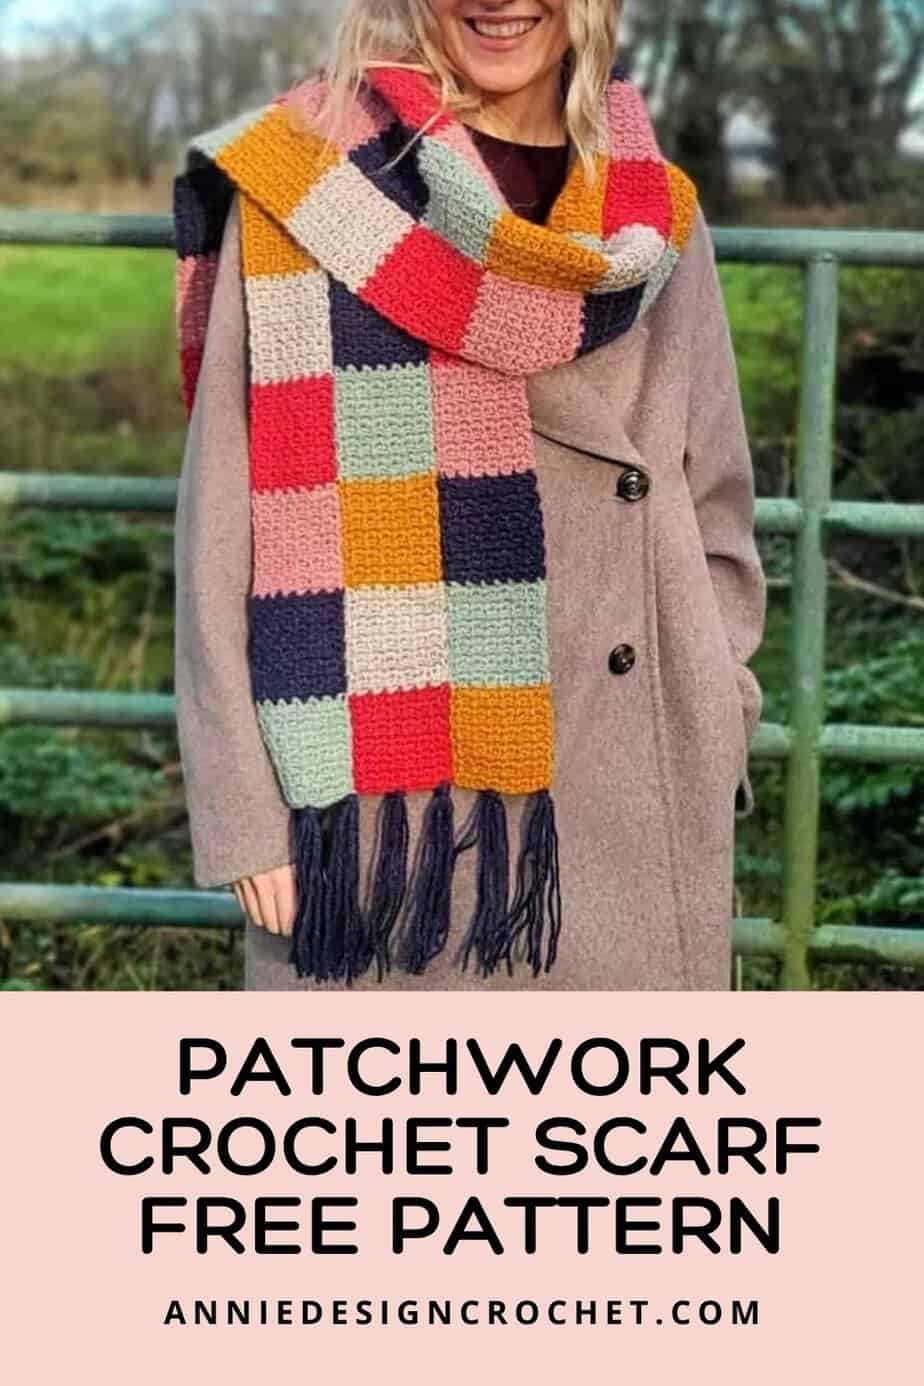
Don’t forget to follow me on Instagram and be sure to tag me in your photos so I can see it too, @anniedesigncrochet or #anniedesigncrochet – I can’t wait to see what colours you use with this pattern!
The photographs and pattern contained on this page are the property of Annie Design Crochet.com.
You are welcome to use this pattern to make items to sell, and I would appreciate that you include a link to the free pattern with credit for the designer, thank you!
No unauthorized reproduction, in whole or in part, or distribution of this pattern or content is permitted.