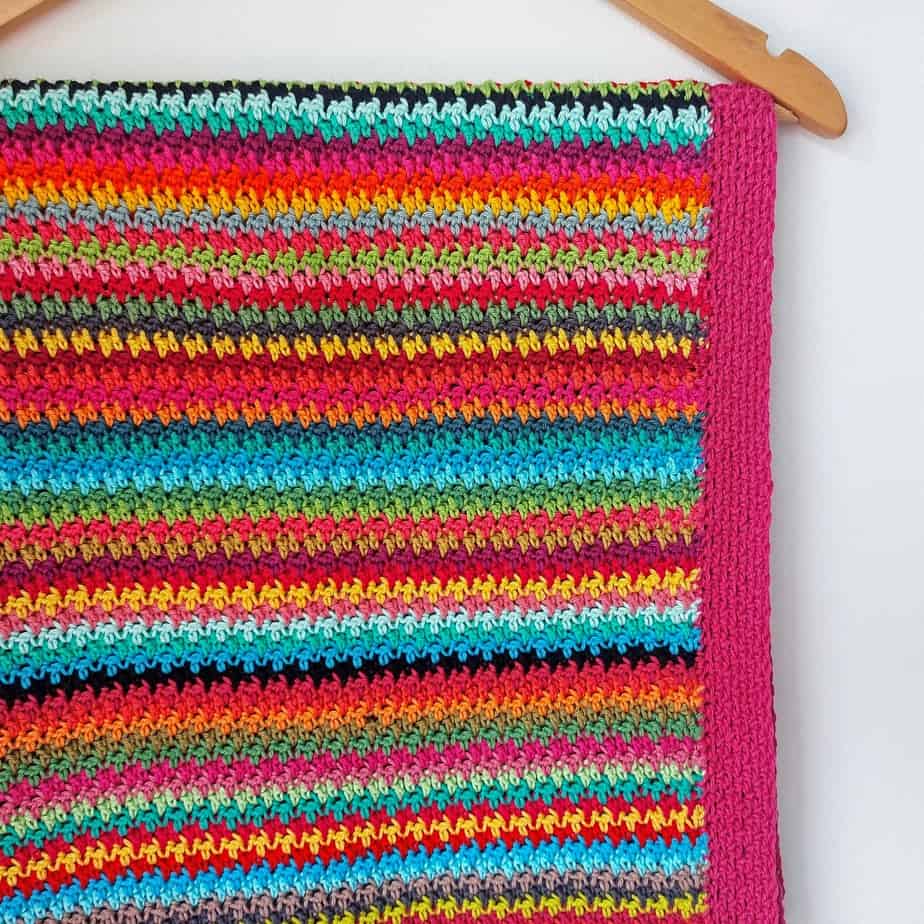
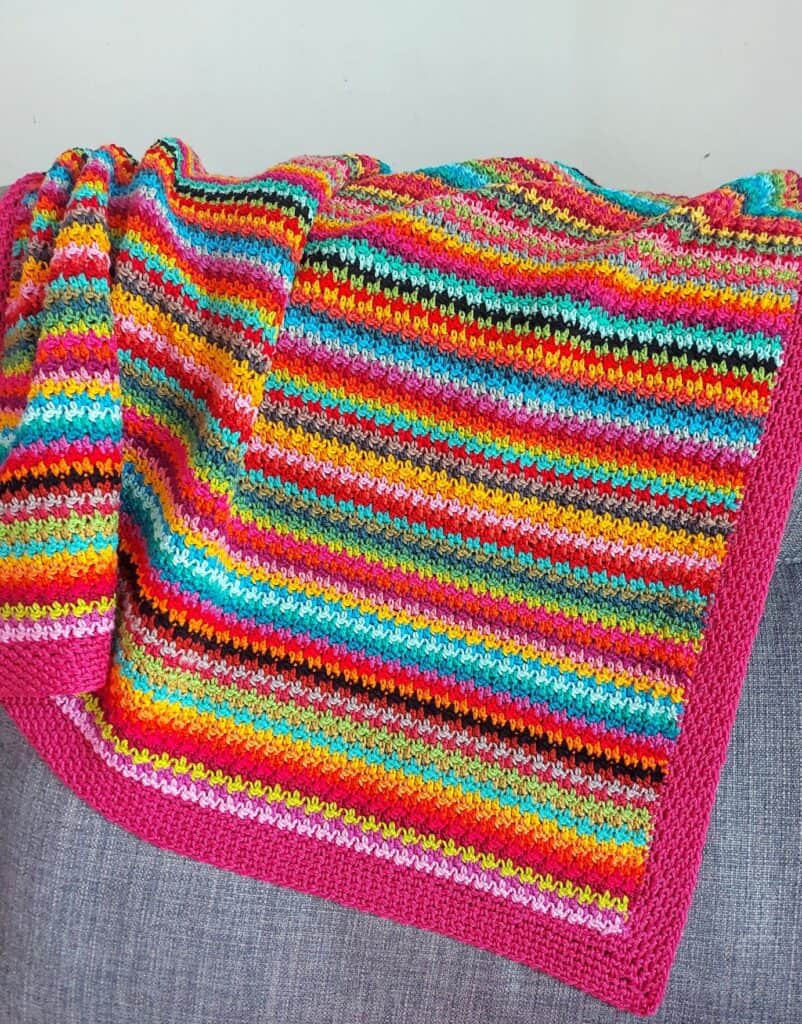
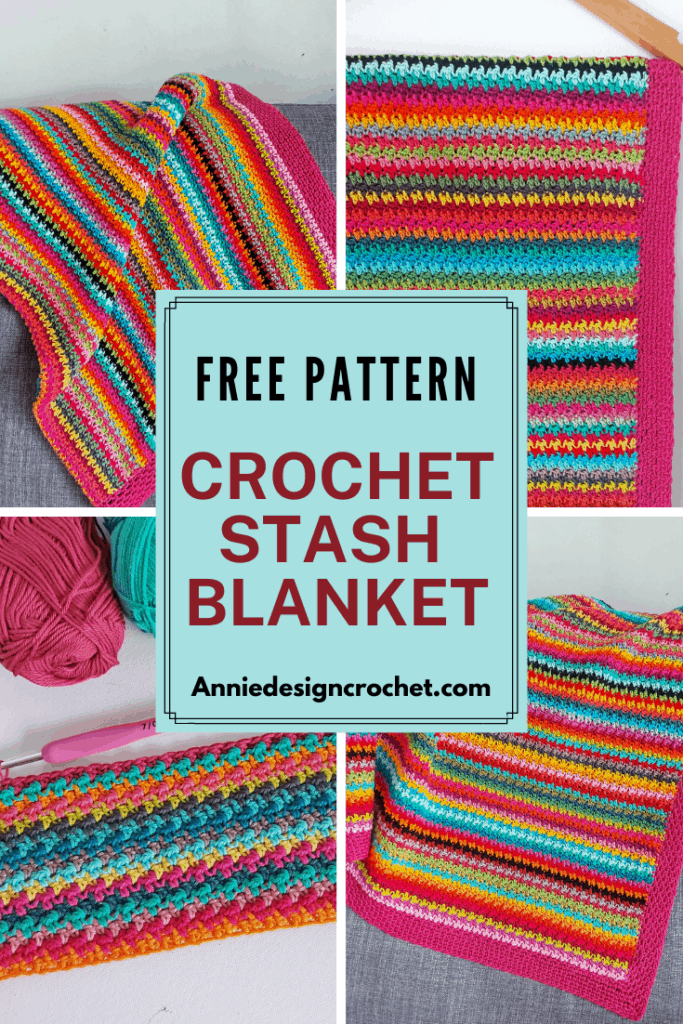
I finally finished my Crochet Stash Buster Blanket! This project was started last Febuary (you can find the details HERE ) where I wrote about sorting out my most colorful cotton yarn and choosing a selection of colours that were bright and cheerful and brought me joy.
It has been my mindful crochet project over the last few months and I want to share with you how I made it!
Don’t you just love the cheerful stripes and the lovely texture that the pattern makes?!
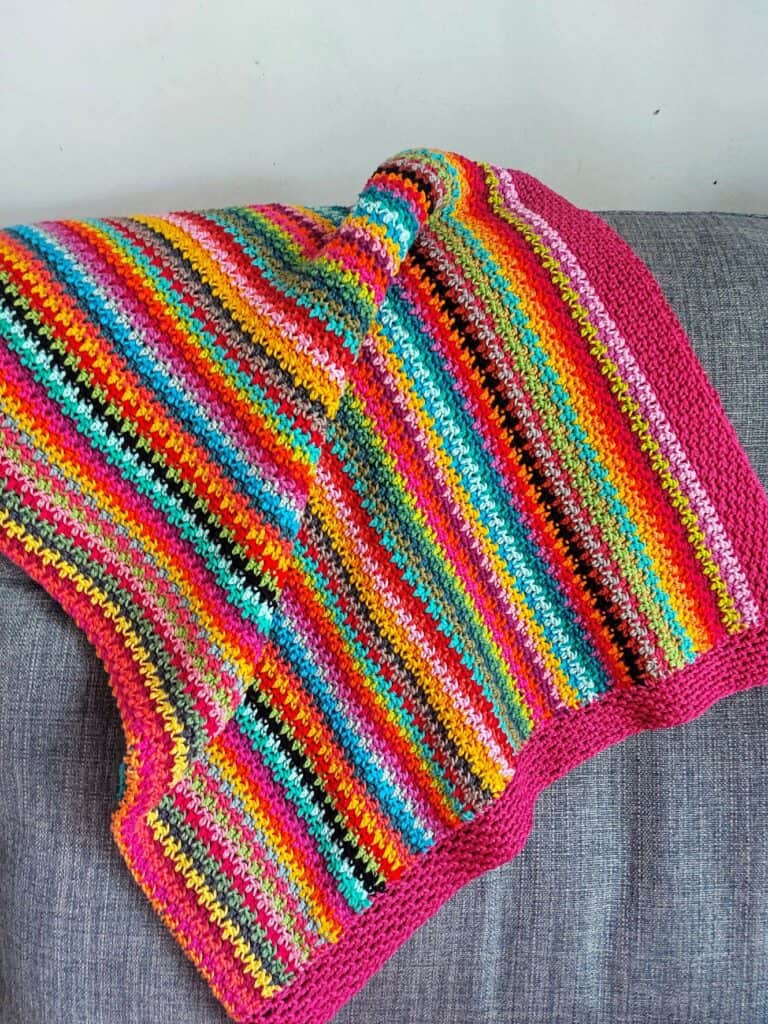
Details of Scrap Yarn Blanket
A crochet stash buster blanket is a wonderful way of using up all of your yarn scraps – even those small leftovers. The end result will be a very unique blanket and a project that will keep you interested all the way through.
My daughter in law had a beautiful colourful baby blanket that I spotted last year in her home. It was machine knit from Mothercare, I think? I fell in love with it and wanted to create something similar in crochet. Each row only uses a very small amount of yarn which made it perfect for some of the tiny little balls that I had in my stash.
I used a sports weight cotton yarn for my blanket as I had plenty of small amounts of cotton yarn leftover from projects I have made over the years. See my Christmas Baubles HERE and HERE. I make A LOT of baubles every year!
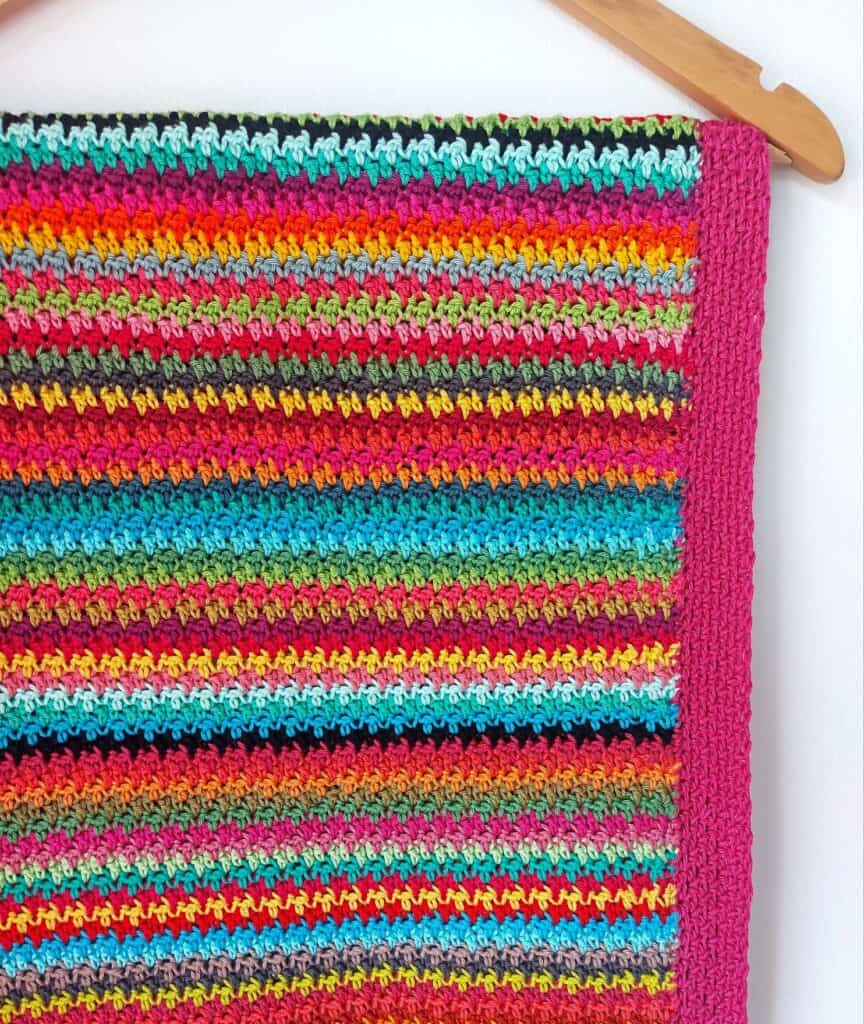
Helpful Information for Crochet Stash Buster Blanket
The pattern is a very easy one row repeat, and all details for making a blanket this size are in the pattern below. But you can make this blanket any size you want! It is the easiest pattern ever to adapt and perfect for a beginner. Use any yarn – double knit or worsted weight yarn would be perfect, so have a look through your stash and see what you find.
You can easily adjust the width by crocheting a starting chain to the size you require. You can pick back later any chains unused.
I choose to weave in all my ends but you could leave your ends and trim them up later to make a beautiful fringe on each side of your blanket. I might do that on my next stash busting blanket – it sounds fun!
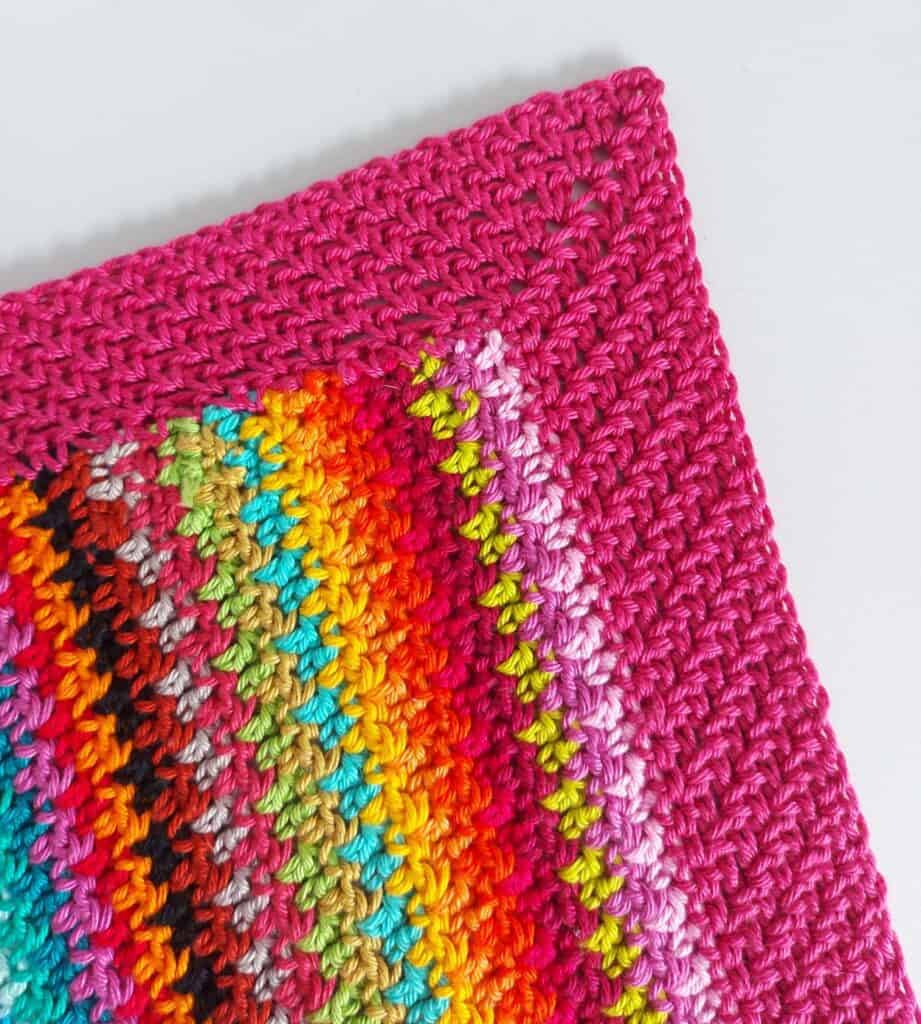
The border was crocheted using the Linen Stitch (sometimes called Crochet Moss Stitch). Once you have your first border row complete, the rest is very easy. I like the flat textured finish of this border but you could choose to leave it out.
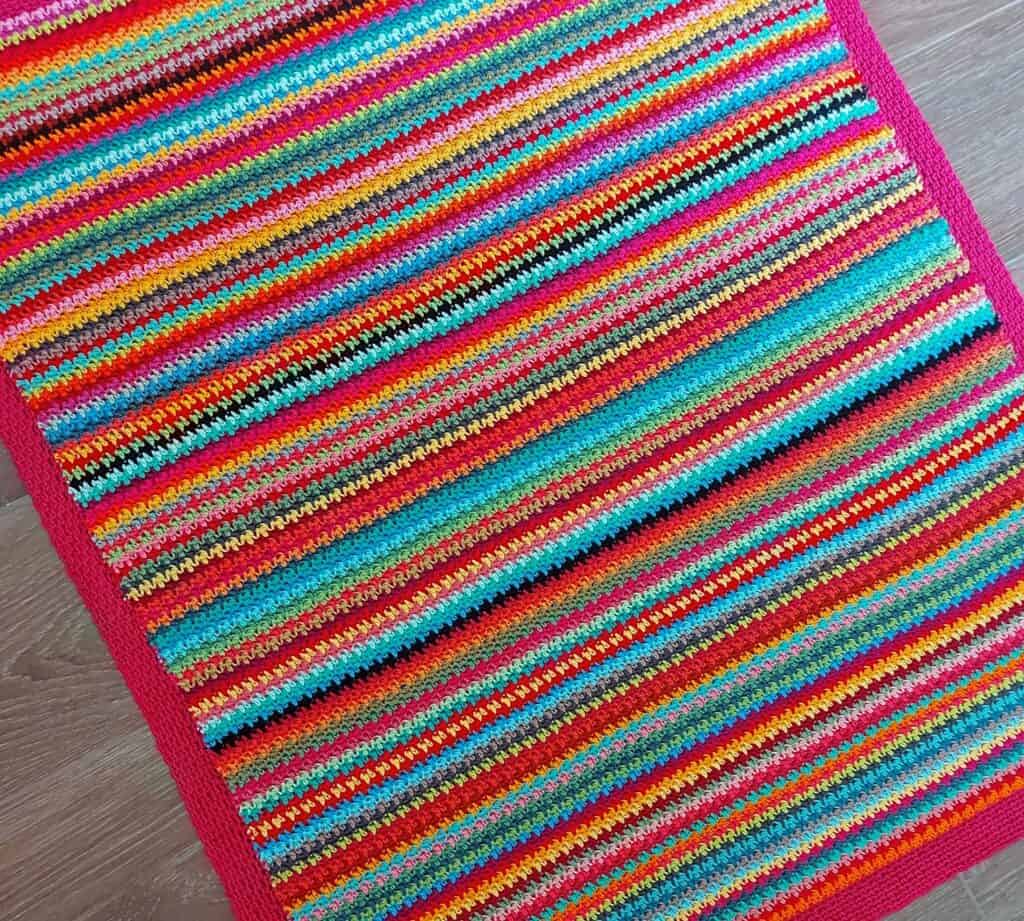
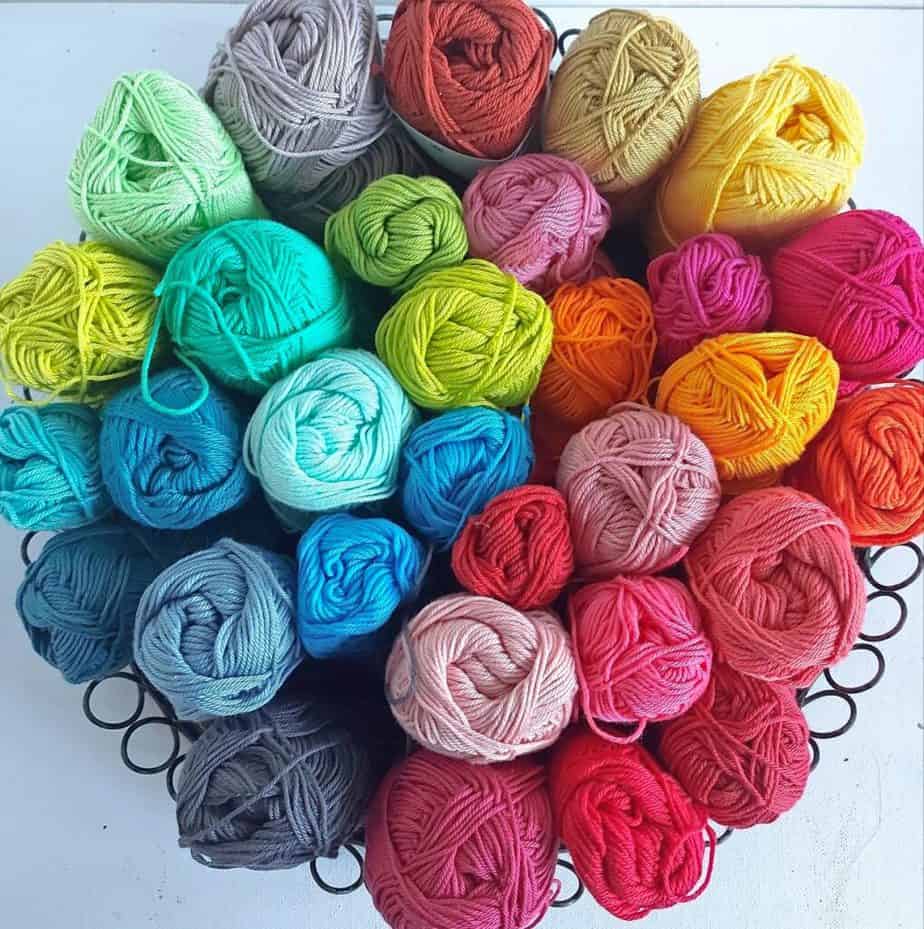
I choose my favourite ‘warm’ colours and some ‘cool’ colours to use in both blankets. I have just noticed that I did not choose any purple shades! Have fun using up yarn from your stash, just make sure it is similar in weight.
You may also like my very colorful pattern for a Chevron Crochet Retro Blanket
Add to your Ravelry Queue
Here are the colours I choose:
Materials
- Scheepjes Catana or Yarn and Colors Must have (or any similar sport weight cotton yarn) in various shades
- You can use any weight yarn you have in your stash and a matching hook. Just make sure the yarn is all a similar weight
- 4mm Crochet Hook
Size
Measurement of blanket pictured – 33 x 41 inches [84 x 104 cm]
You can make blanket any size you wish
Abbreviations (US crochet terms)
yo – yarn over
ch – chain
sc – single crochet
dc – double crochet
st – stitch
Notes
- To change colors seamlessly at the end of the row, complete the final yarn over of the last dc of the row, with the new colour.
- Always make a starting chain a bit longer than needed – you can always pick back your extra chains later
- I recommend weaving in threads as you go!
Instructions for Crochet Stash Buster Blanket (US Crochet Terms)
Make a long chain to the width you want your blanket with an even number of chains. The following are instructions for the blanket pictured.
Chain 120
Row 1: 1 dc into 2nd ch from hook. * 1 sc in next ch, 1 dc in next ch; rep from * across, making last dc in final ch. Fasten off yarn, turn.
Row 2: Using next colour, ch 1 (counts as 1st st here and throughout), skip 1st st at base of ch 1, * 1 dc in next st (sc from previous row), 1 sc in next st (dc from previous row); rep from * across, ending with 1 dc in last st (beg ch 1). Fasten off yarn, turn.
That is it! Just repeat row 2 changing colour every row. My blanket had a total of 138 rows.
See notes above for changing colours.
Border
Work border rounds with same side facing throughout, without turning. I made 8 rounds in total.
Round 1: With chosen colour, join yarn in corner top left of blanket, [ch 1, 1 sc, ch 1] in same sp (1st corner), 1 sc in each row end down left side, [1 sc, ch 1, 1 sc] in corner bottom left of blanket (2nd corner), 1 sc in each st across foundation row, [1 sc, ch 1, 1 sc] in corner bottom right of blanket (3rd corner), 1 sc in each row end up right side, [1 sc, ch 1, 1 sc] in corner top right of blanket (4th corner), 1 sc in each st across top of blanket, join with a sl st into ch-1 sp of 1st corner.
Round 2: Ch 3 (counts as 1 sc, ch 2 here and throughout), 1 sc in same sp, * ch 1, skip next st, 1 sc in next st; rep from * around, making [1 sc, ch 2, 1 sc] in each corner ch-1 sp, join with a sl st into beg ch-3 sp.
Rounds 3-8: Repeat round 2. Fasten off yarn.

Find more Free patterns including blanket patterns here
If you make this pattern, don’t forget to follow me on Instagram and be sure to tag me in your photos so I can see it too, @anniedesigncrochet or #anniedesigncrochet – I can’t wait to see what colours you use with this pattern!
The photographs and pattern contained on this page are the property of Annie Design Crochet.com.
You are welcome to use this pattern to make items to sell, and I would appreciate that you include a link to the free pattern with credit for the designer, thank you!
No unauthorized reproduction, in whole or in part, or distribution of this pattern or content is permitted.

