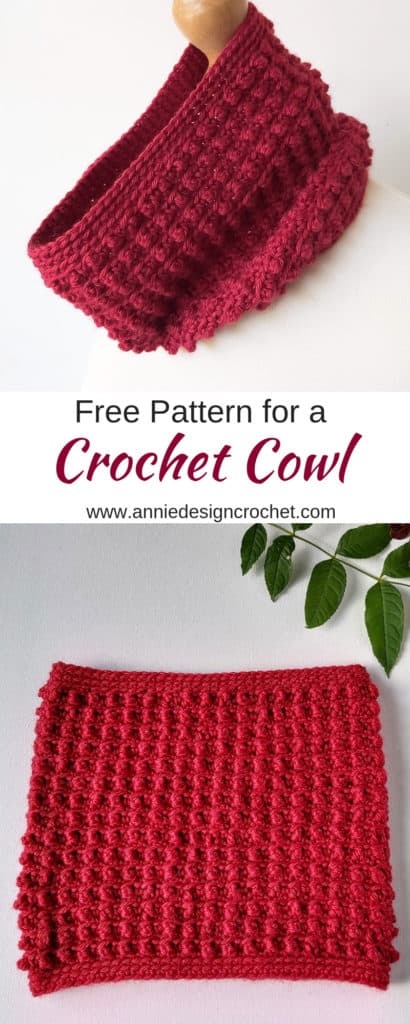
You will love this crochet neck warmer pattern designed for snug comfort and eye-catching style!
This easy free pattern creates a neck warmer that is the perfect accessory, making it an excellent last-minute gift idea.
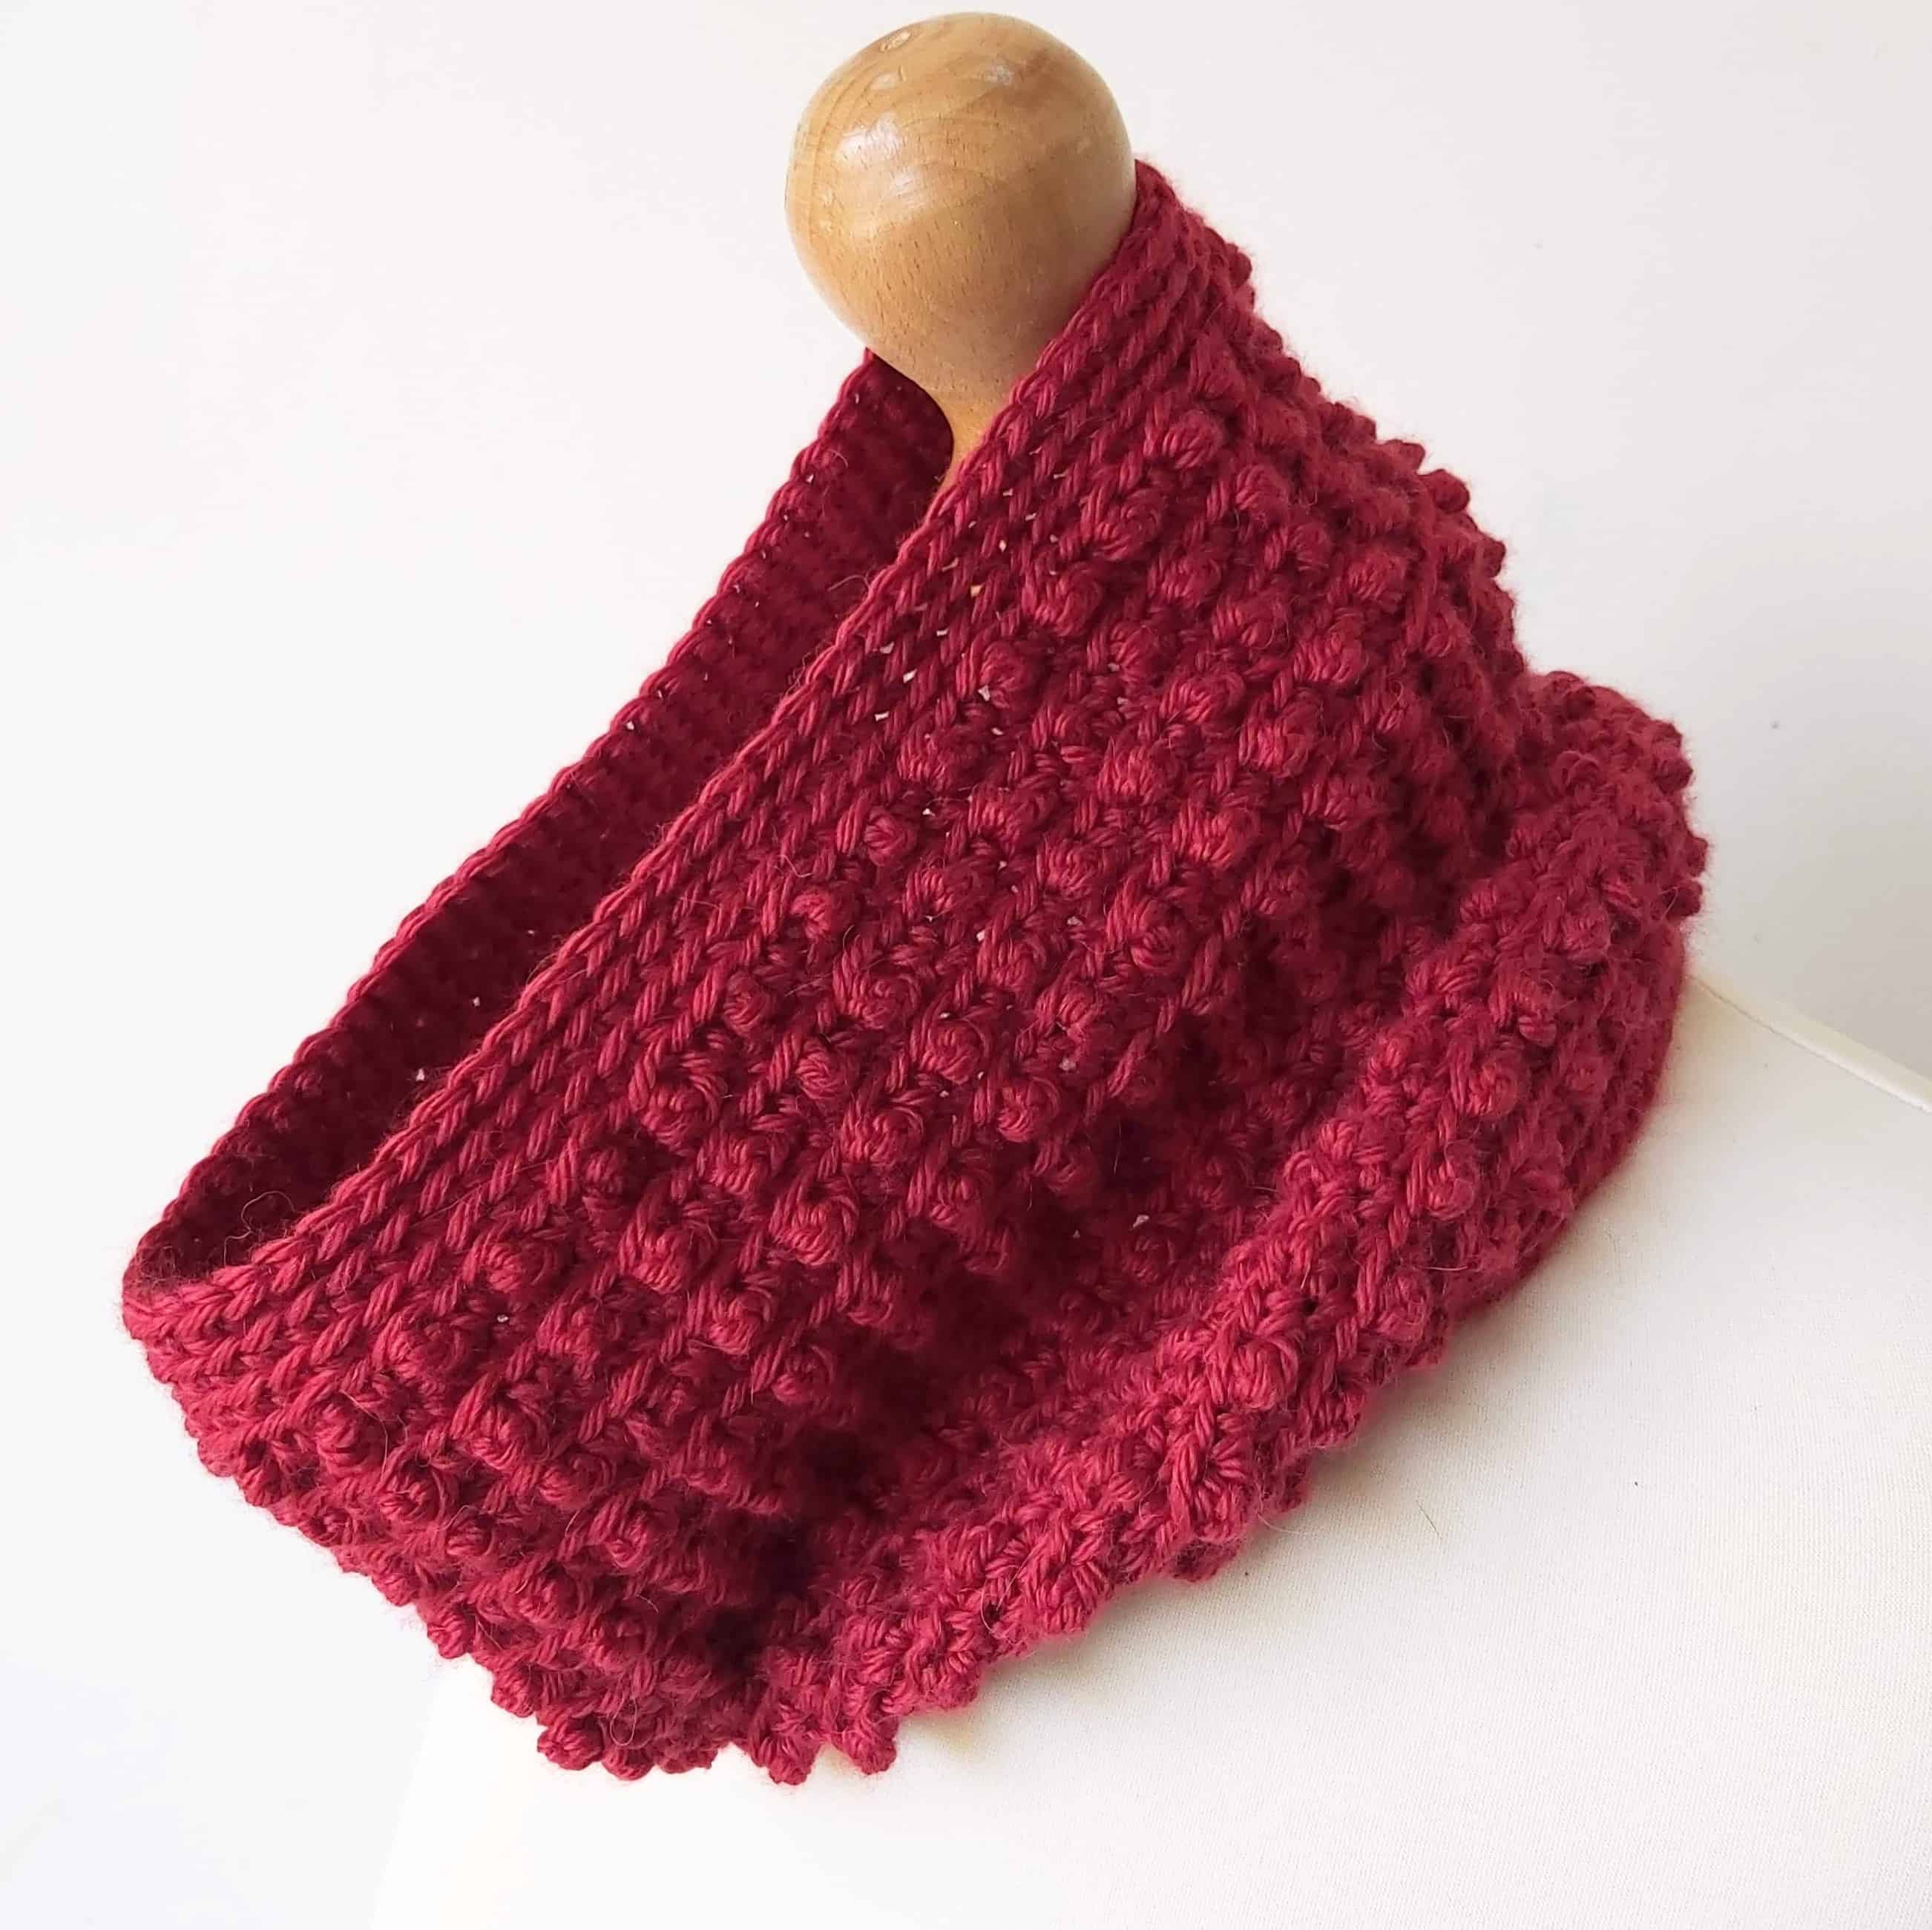
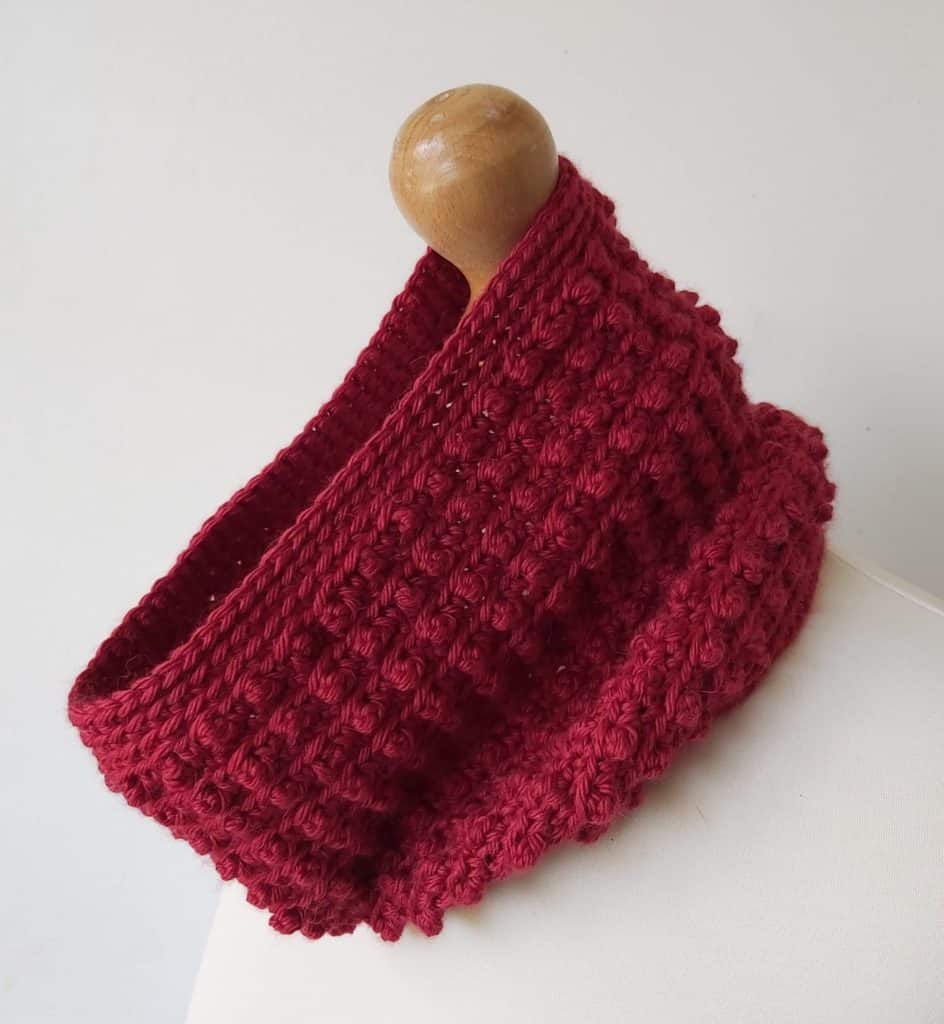
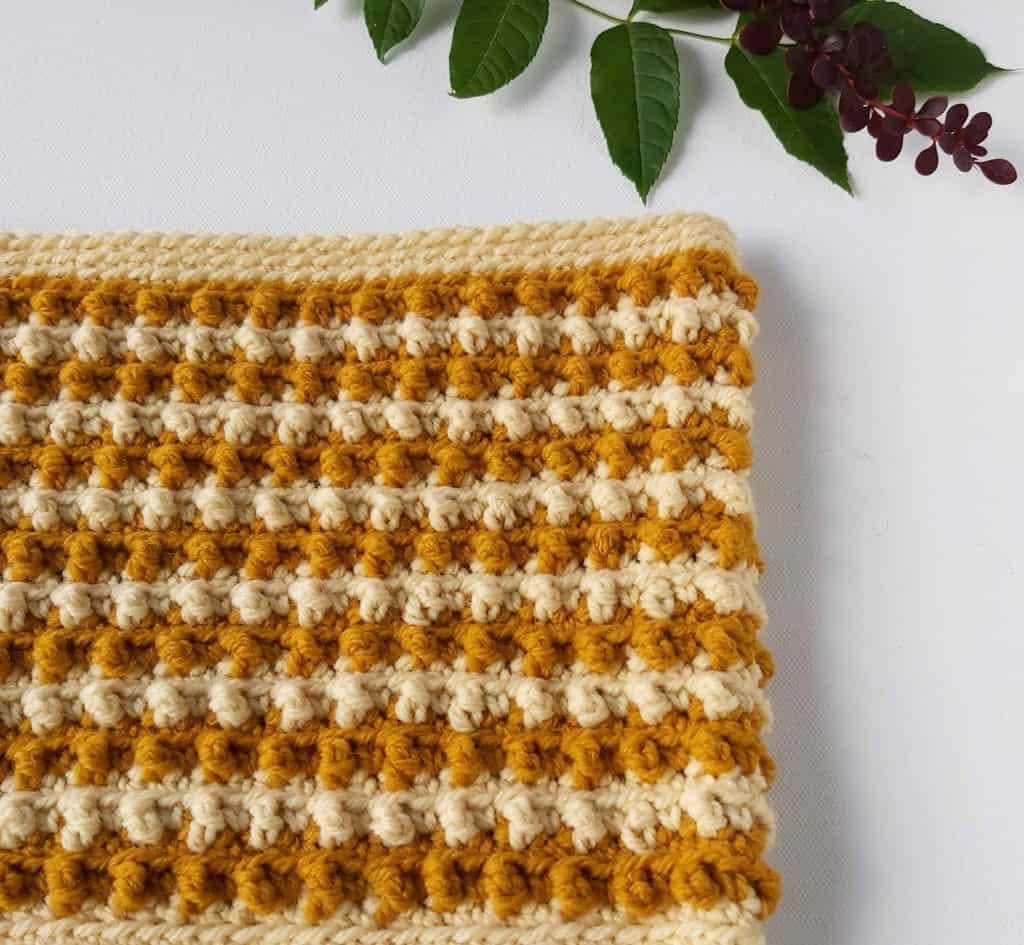
The unique design features a tight stitch with a beautiful texture that’s simply irresistible.
Pattern includes instructions in US terms and UK terms
Crochet Neck Warmer Pattern Details
I like my crochet neck warmers to fit snuggly with no gaps, to give protection for the easterly winds and cold weather every winter.
A crochet cowl is a more practical than a scarf – slip it over your head and you are warm and cosy straight away with no ends to tuck in.
I made my cowl 21 – 22 inches around which is a perfect size for me, for a cozy neck.
The pattern has a good stretch. You can easily adjust the size to be smaller or wider by reducing the amount of chains. You will add or increase by multiple of 2 stitches. Easy!

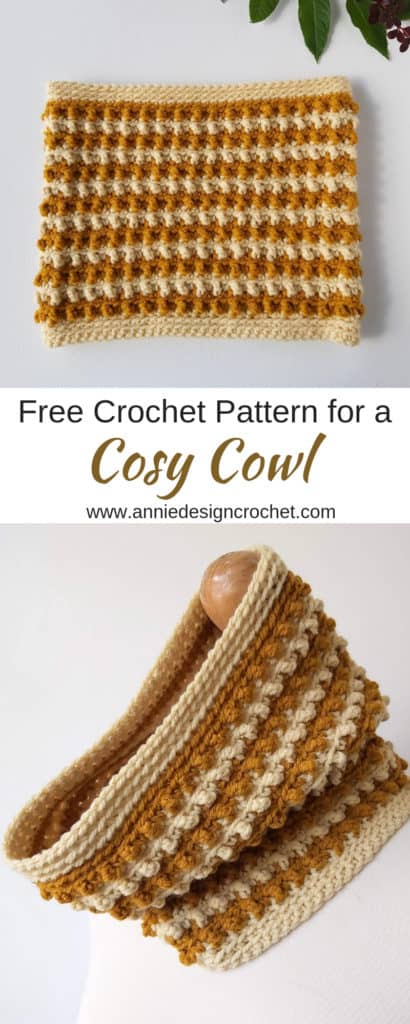
A Quick Crochet Winter Accessory
A quick project for both beginners and seasoned crocheters, a cozy cowl is your go-to winter accessory.
Bulky yarn or chunky yarn are popular choices for a crochet neck warmer. I choose to use a worsted weight yarn and 5 mm hook. You can easily adjust the pattern for different lengths, just reduce or add the number of rounds.
You may like to check out my free crochet cowl pattern in a lighter weight yarn. This beautiful cowl is a fun design to use different ways of playing with color combinations.
Yarn Details
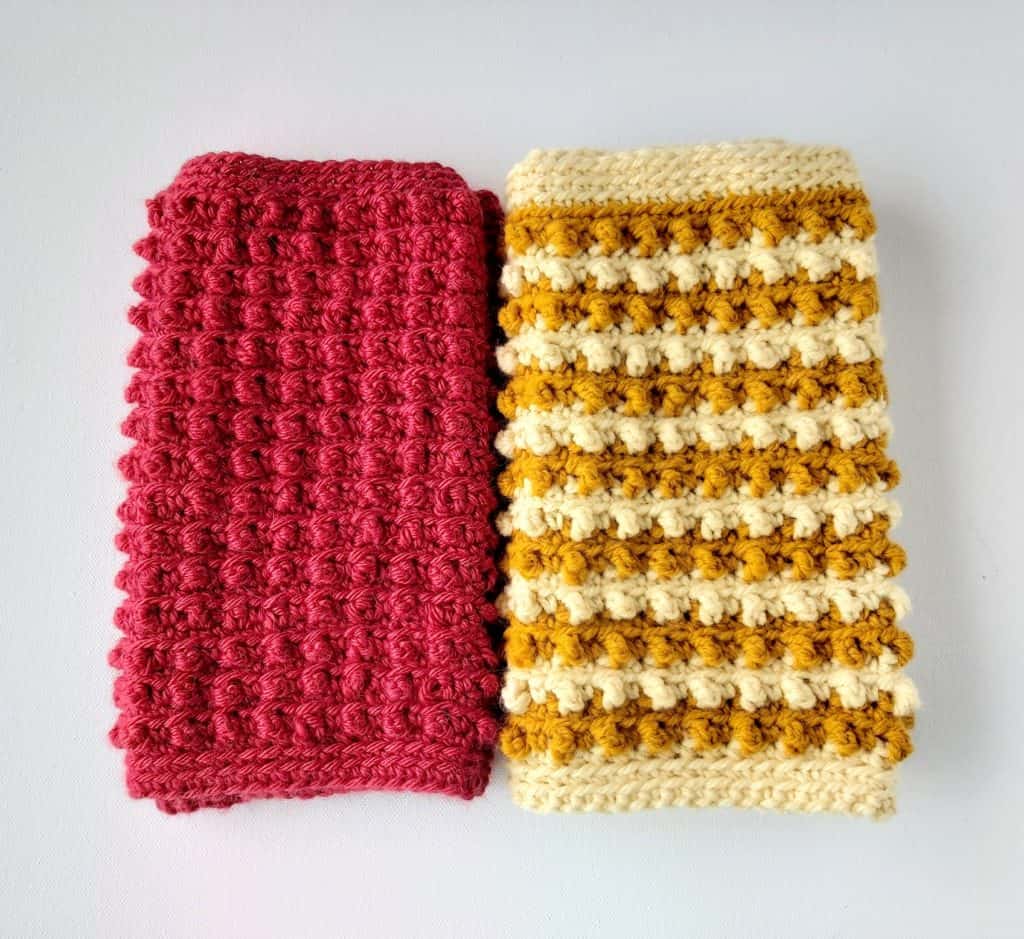
I whipped up this easy crochet cowl twice, because they’re just too good to make only once! My first one was made using a bright color from a Knitcrate subscription box (note: no longer available), requiring 150g in total.
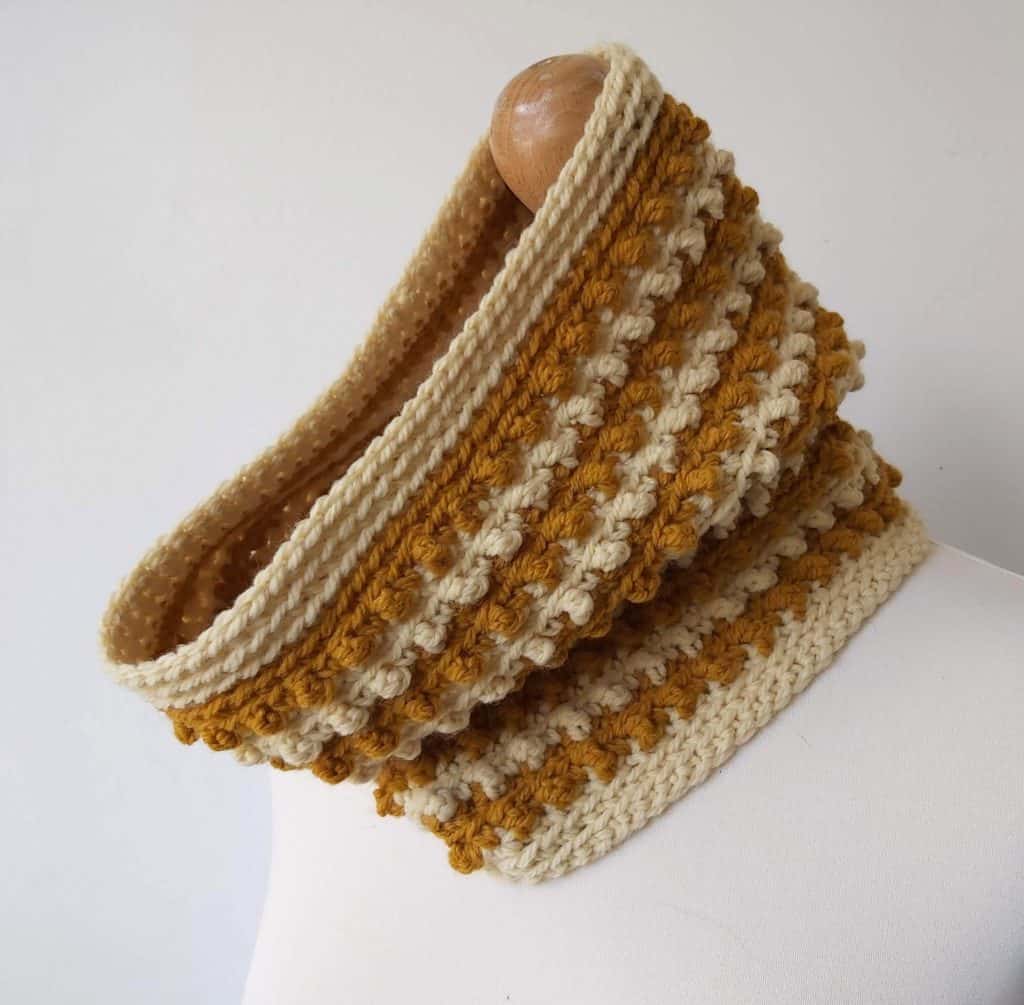
For my second neck warmer, I went for an aran weight acrylic yarn from my stash. I opted for different colors—mustard and vanilla cream—to achieve a trendy, stylish striped look..
This free crochet neck warmer pattern is very versatile. You can use any aran or worsted weight yarn. You will not need a lot of yarn – about 120 – 150g.
Crochet Neck Warmer Stitch Details
The stitch pattern is so easy and fast to work up. You will be using basic stitches in a combination of the single crochet stitch and the treble stitch. You will be working in the round by joining your beginning chain.
Just be careful of your first few rows (count your stitches!) and you will soon have it complete.
You will carry the yarn on the stripe version up on the inside of your work, so hardly any ends to weave in.
Make one for yourself and everybody in the family!
Materials
Knitologie Glowing Worsted – Light Up/40% Superwash Merino, 30% silk, 30% alpaca/Worsted Weight, 150yds/137m/100g
The pattern used one full skein and approx. 50g of the second.
or
100 – 120g of any Aran Weight/Worsted Weight yarn
- Yarn A
- Yarn B
- 5mm crochet hook
Size
21 – 22 inch [53 – 56cm] circumference – size will fit a teen/adult.
10.5 – 11 inches [27 – 29cm] wide and 9.5 inches [24cm] high
Abbreviations
US crochet terms
- Ch – chain
- St(s) – stitch(s)
- Sc – single crochet
- Tr – treble crochet
- Sl st – slip stitch
UK crochet terms
- Ch – chain
- St(s) – stitch(s)
- Dc – double crochet
- Dtr – double treble crochet
- Sl st – slip stitch
Notes
- The cowl is worked in rounds with right side facing at all times
- Carry colour not in use loosely on wrong side of work.
- When changing colours, work last step of last stitch of previous colour with new colour.
- Sample 1 in Knitologie Glowing Worsted RED has a total of 36 rows
- Sample 2 in two colours of Aran Weight has a total of 32 rows
- Pattern includes instructions in US terms and UK terms
Crochet Neck Warmer Pattern (US terms)
Red Version
With main colour and 5mm hook, ch 72, slip st in first ch to form a ring, being careful not to twist the foundation chain.
Row 1: Ch 1 (does not count as a st here and throughout), 1 sc in each ch around, sl st into 1st sc to join – 72 sc
Row 2: Working in back loops only, ch 1, 1 sc in each st around, sl st into 1st sc to join – 72 sc
Row 3: Rep row 2.
Row 4: Working in both loops, ch 1, 1 sc in 1st st, 1 tr in next st, * 1 sc in next st, 1 tr in next st; rep from * around, sl st into 1st sc to join – 36 sc, 36 tr
Row 5: Working in back loops only, ch 1, 1 sc in each st around, sl st into 1st sc to join – 72 sc
Row 6: Repeat row 4
Row 7: Rep row 5
Repeat rows 4 & 5 for a total of 33 rows.
Row 34: Working in back loops only, ch 1, 1 sc in each st around, sl st into 1st sc to join – 72 sc
Rows 35 & 36: Rep row 34. Fasten off and weave in all ends.
Stripe Version
With yarn A and 5mm hook, ch 72, slip st in first ch to form a ring, being careful not to twist the foundation chain.
Row 1: Ch 1 (does not count as a st here and throughout), 1 sc in each ch around, sl st into 1st sc to join – 72 sc
Row 2: Working in back loops only, ch 1, 1 sc in each st around, sl st into 1st sc to join – 72 sc
Row 3: Rep row 2. Drop yarn A and join in yarn B on last yarn over of sl st join (see notes about changing colour)
Row 4: Working in both loops, ch 1, 1 sc in 1st st, 1 tr in next st, * 1 sc in next st, 1 tr in next st; rep from * around, sl st into 1st sc to join – 36 sc, 36 tr
Row 5: Working in back loops only, ch 1, 1 sc in each st around, sl st into 1st sc to join. Drop yarn B and join in yarn A as before – 72 sc
Row 6: Repeat row 4
Row 7: Rep row 5
Repeat rows 4 & 5 changing colours every 2nd row for a total of 29 rows.
Row 30: Using Yarn A and working in back loops only, ch 1, 1 sc in each st around, sl st into 1st sc to join – 72 sc
Rows 31 & 32: Rep row 30. Fasten off and weave in all ends.

Crochet Neck Warmer Pattern (UK terms)
Red Version
With main colour and 5mm hook, ch 72, slip st in first ch to form a ring, being careful not to twist the foundation chain.
Row 1: Ch 1 (does not count as a st here and throughout), 1 dc in each ch around, sl st into 1st dc to join – 72 dc
Row 2: Working in back loops only, ch 1, 1 dc in each st around, sl st into 1st dc to join – 72 dc
Row 3: Rep row 2.
Row 4: Working in both loops, ch 1, 1 dc in 1st st, 1 dtr in next st, * 1 dc in next st, 1 dtr in next st; rep from * around, sl st into 1st dc to join – 36 dc, 36 dtr
Row 5: Working in back loops only, ch 1, 1 dc in each st around, sl st into 1st dc to join – 72 dc
Row 6: Repeat row 4
Row 7: Rep row 5
Repeat rows 4 & 5 for a total of 33 rows.
Row 34: Working in back loops only, ch 1, 1 dc in each st around, sl st into 1st dc to join – 72 dc
Rows 35 & 36: Rep row 34. Fasten off and weave in all ends.
Stripe Version
With yarn A and 5mm hook, ch 72, slip st in first ch to form a ring, being careful not to twist the foundation chain.
Row 1: Ch 1 (does not count as a st here and throughout), 1 dc in each ch around, sl st into 1st dc to join – 72 dc
Row 2: Working in back loops only, ch 1, 1 dc in each st around, sl st into 1st dc to join – 72 dc
Row 3: Rep row 2. Drop yarn A and join in yarn B on last yarn over of sl st join (see notes about changing colour)
Row 4: Working in both loops, ch 1, 1 dc in 1st st, 1 dtr in next st, * 1 dc in next st, 1 dtr in next st; rep from * around, sl st into 1st dc to join – 36 dc, 36 dtr
Row 5: Working in back loops only, ch 1, 1 dc in each st around, sl st into 1st dc to join. Drop yarn B and join in yarn A as before – 72 dc
Row 6: Repeat row 4
Row 7: Rep row 5
Repeat rows 4 & 5 changing colours every 2nd row for a total of 29 rows.
Row 30: Using Yarn A and working in back loops only, ch 1, 1 dc in each st around, sl st into 1st dc to join – 72 dc
Rows 31 & 32: Rep row 30. Fasten off and weave in all ends.
Find more Free patterns here
If you make this pattern, don’t forget to follow me on Instagram and be sure to tag me in your photos so I can see it too, @anniedesigncrochet or #anniedesigncrochet – I can’t wait to see what colours you use with this pattern!
The photographs and pattern contained on this page are the property of Annie Design Crochet.com.
You are welcome to use this pattern to make items to sell, and I would appreciate that you include a link to the free pattern with credit for the designer, thank you!
No unauthorized reproduction, in whole or in part, or distribution of this pattern or content is permitted.
Hi! I love this cowl. Thank you for the free pattern. It seems so straightforward, but I’m having one problem. When I do row 4—alternating sc and tr—my nice mini bobbles appear on the INSIDE of the cowl. I’m working with the right side facing me. Any chance you can help? Thanks!
Disregard my previous post—I realized that I just need to pop the bobbles forward to the right side. Silly me! Thanks!
Please disregard my post. I realized that I just needed to pop the bobbles to the front with my finger! Thanks.
Thanks Lori! You get the hang of it after a few rows!