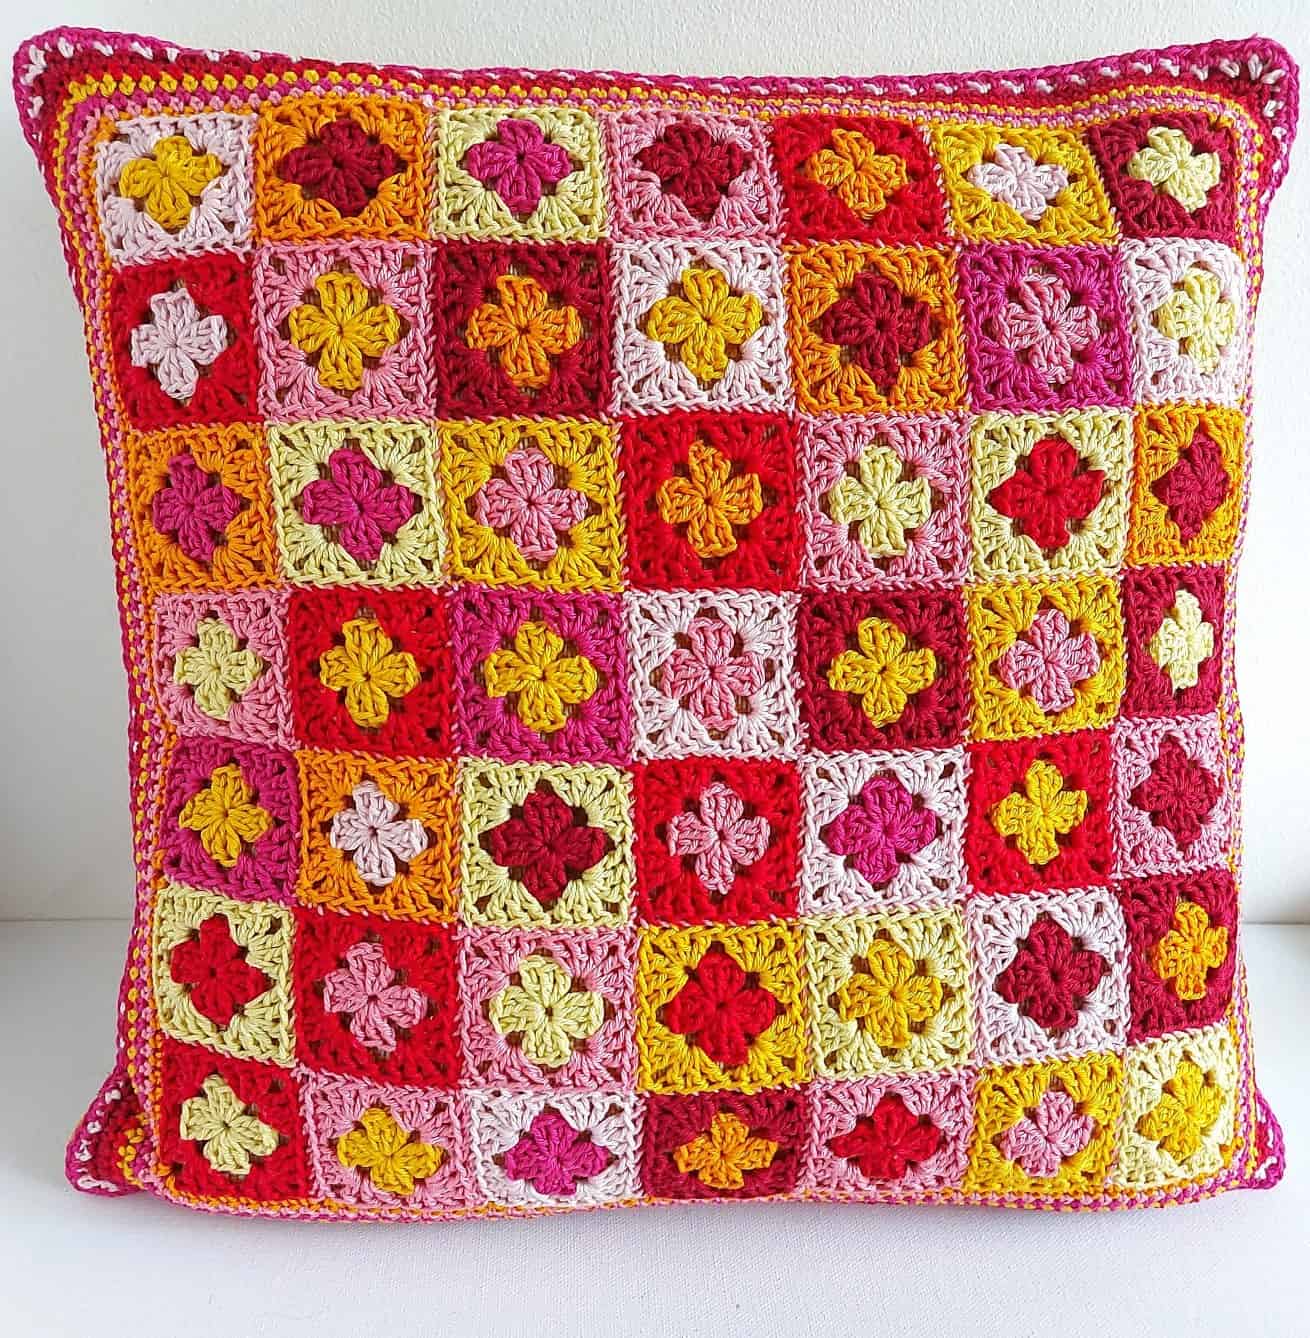
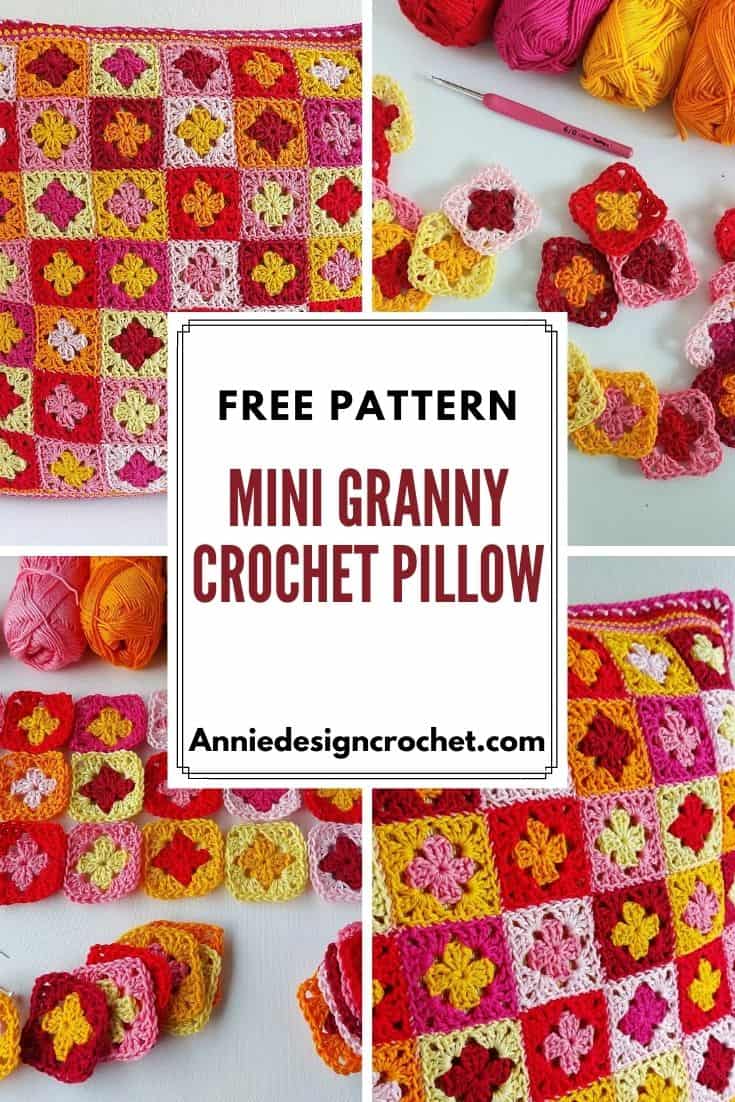
The Mini Granny Crochet Pillow is a fun project to make and would be a beautiful gift for someone special. It is a great way to use up scraps of cotton yarn and get creative with your colour combinations.
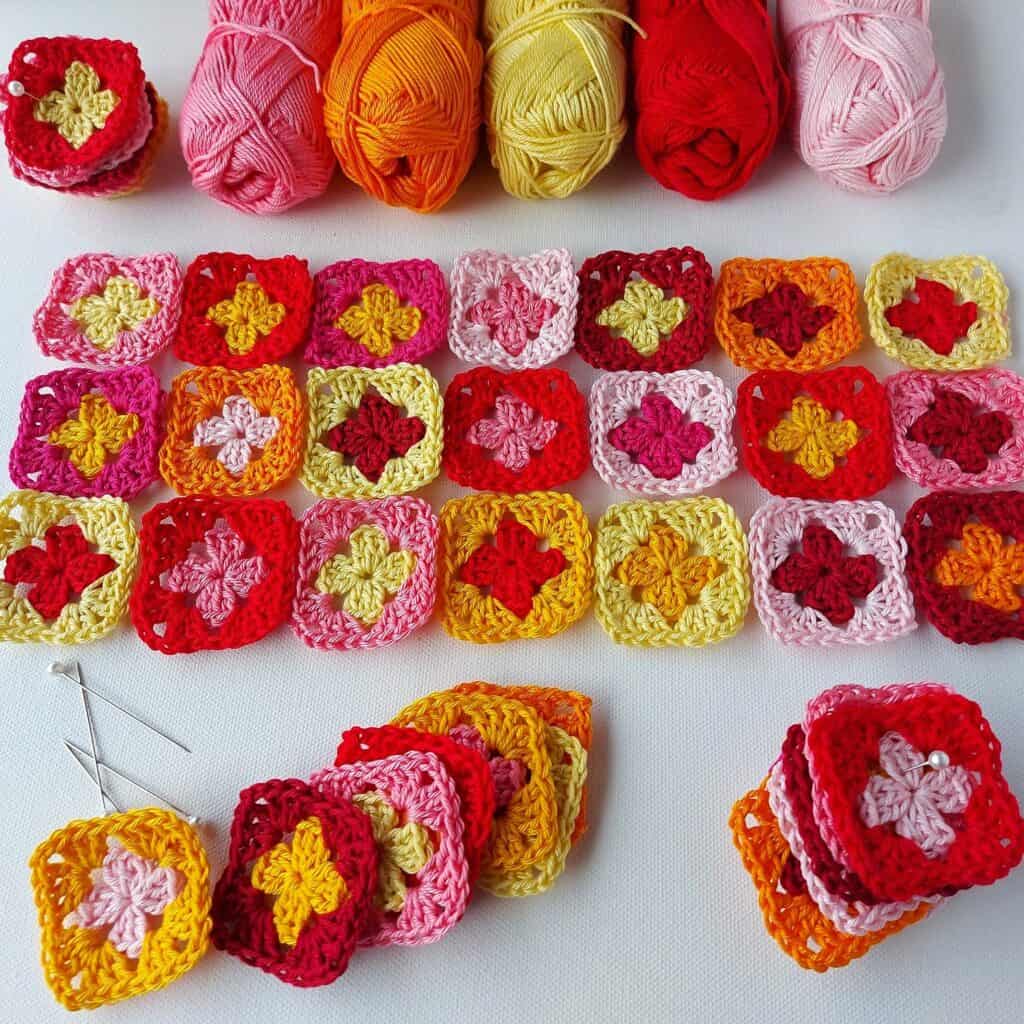
I had lots of sports weight cotton yarn (or you could use a light DK weight yarn) in my stash that I used making baubles and decided to make a bright and cheery pillow using small squares.
These were the colours I choose – some pink shades, 2 yellow, an orange shade, a bright red and my favourite, a deep wine red shade and I love the combination!
Crochet Cushion with Mini Granny Squares
I really took my time making this project. Not every crocheter enjoys making mini squares….too many ends?! But I find it relaxing and mindful and added a few squares slowly to my pile every evening.
Granny squares are my favourites! Two very popular patterns on my blog are my crochet granny scarf and my pocket shawl with a granny square pocket.
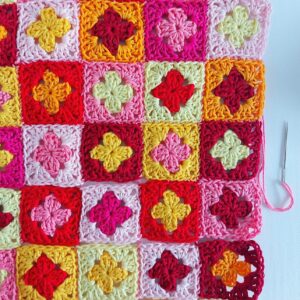
There is a total of 49 mini granny squares, each 2 inches (5 cm) across in different combinations of my colours. If you choose 7 or 8 colours that work well together and include some strong contrast colours (that will pop!) you can be reassured that the final selection will be beautiful!
You may enjoy my 18 Colorful Crochet pillow pattern collection
Crochet Pillow Cover Details
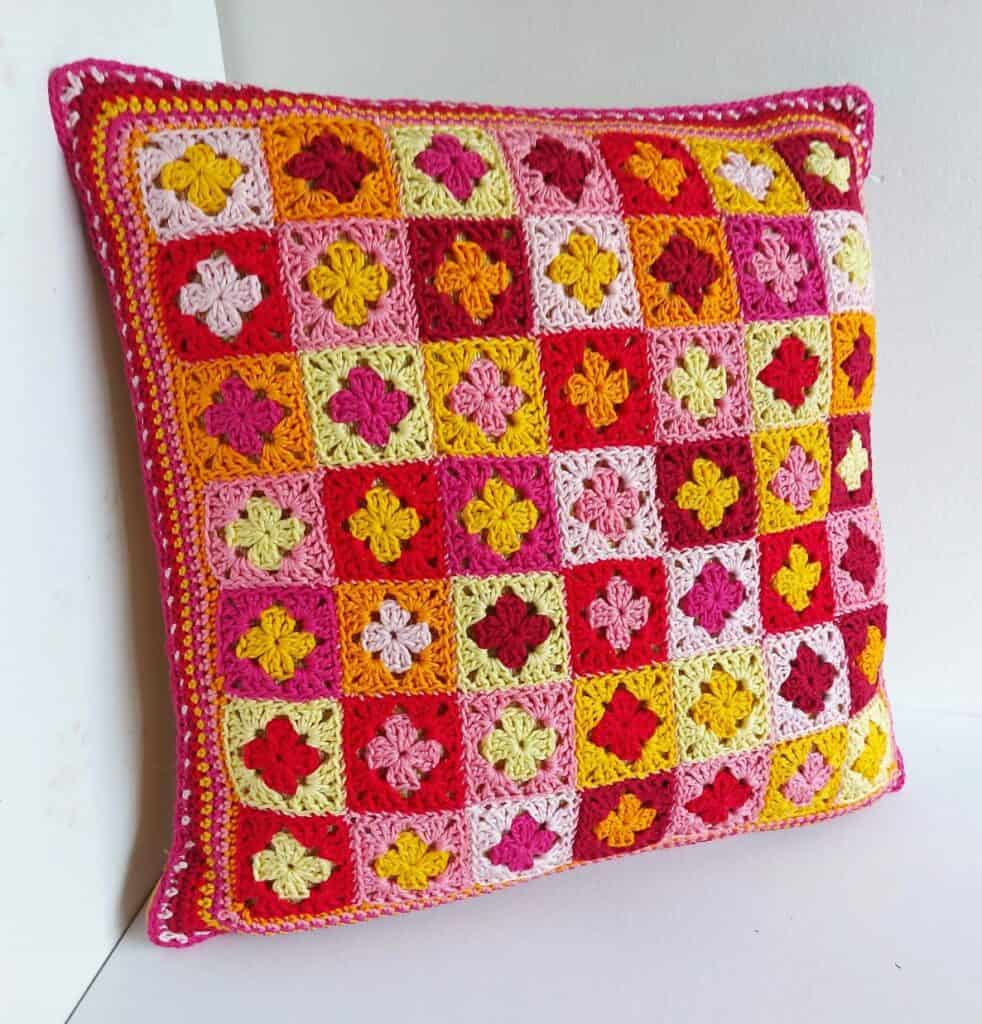
To save time I just made the front panel of the pillow and then attached the crochet piece to the front of a store-bought pillow…..easy! No messing around with a fabric insert and zips. You can of course if you wish, make 2 panels and use an insert filler pillow.
Read on for more details and the instructions for the free crochet pattern for mini granny squares.
Save to Pinterest for Later!
How Do You Make Mini Granny Squares
Each little square is 2 inches in size and is two rounds of a classic granny square. Each round is crocheted in different colours. You can make granny squares in different ways. Solid granny squares or the popular classic crochet granny.
They work up fast and you will soon have a nice pile of little squares completed!
Add to your Ravelry Queue
Materials
- Scheepjes Catana or Yarn and Colors Must have (or any similar sport weight cotton yarn)
- You can use any sports weight or light DK weight yarn to achieve a similar effect. Cotton yarn is preferable
- 3.5mm Crochet Hook
- 17″ x 17″ [43 x 43cm] ready-made pillow from a store
- Yarn needle and strong sewing thread
Size
Finished size – 17″ x 17″ [43 x 43cm]
Each square is approx. 2″ [5cm]
Abbreviations (US crochet terms)
yo – yarn over
ch – chain
dc – double crochet
sp – space
Instructions
Mini Granny Square Pattern (make 49)
Each round is worked in a different colour
With first colour, make a magic ring
Round 1 (RS): Ch 5 (counts as 1 dc, ch 2 here and throughout), 3 dc in ring, (ch 2, 3 dc in ring) twice, 2 dc in ring, join with sl st in 3rd ch of beg ch. Fasten off.
Round 2: Join 2nd colour in any corner ch-2 sp, ch 5 (counts as 1 dc and ch-2), 3 dc in same sp, * (3 dc, ch 2, 3 dc) in next ch-2 sp; rep from * twice more, 2 dc in first ch-2 sp, join with sl st in 3rd ch of beg ch 5. Fasten off and weave in threads.
Finishing
- I whip stitched my mini granny squares together using the same cotton yarn that I made my squares with – a contrast colour can look wonderful!
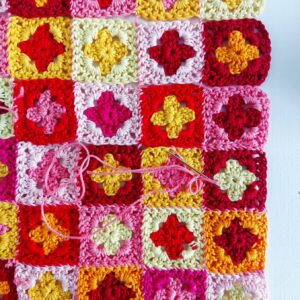
- Layout your squares in 7 rows with 7 squares in each row. Play around with your combinations until you have a result that you like
- Place right side (RS) of each square together and sew using back loops only for a neat finish
- Seams are worked by holding 2 squares with RS together and inserting the yarn needle through both back loops of each square and whip stitching loosely together
- The joining of the squares is done in continuous rows, square by square until an entire row is finished. You will only cut your yarn when you reach the end of a row. First, join all the horizontal rows of the piece and then join the vertical rows
Front of Pillow
Back of Pillow
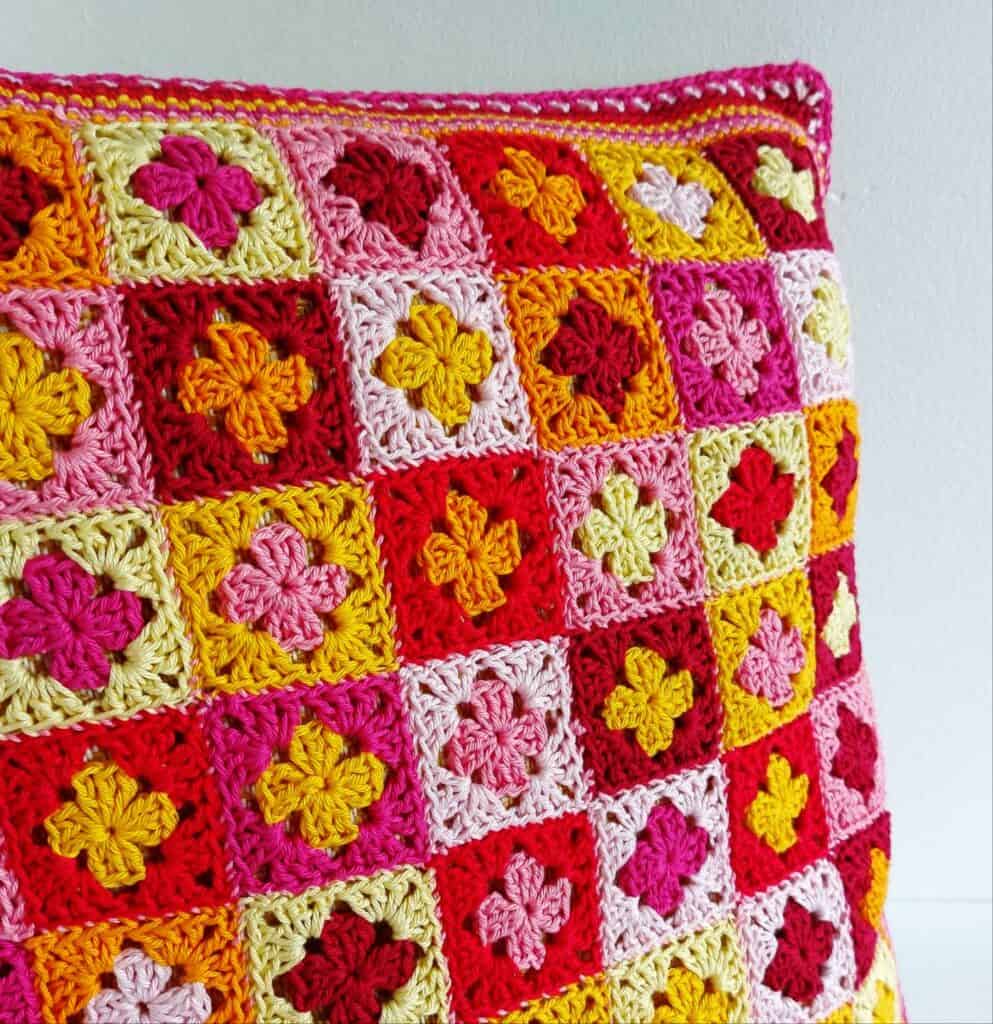
Border
Round 1: With right side facing, and using colour of your choice, join into any corner space. Ch 1 * (1 sc, ch 1, 1 sc) (corner made), sc in back loop only across side, making 8sc on top of each square, to next corner; repeat from * until four corners and four sides have been made. Join with a sl st to beg ch 1. Fasten off yarn.
Round 2 : Join next yarn in any st, ch 1, sc (in both loops) in each st around pillow, making (1 sc, ch 1, 1 sc) in each corner ch-1 space. Join with a sl st in first sc. Fasten off yarn.
Round 3 – 8: Repeat round 2.
I did ‘1 sc, ch-1, skip a stitch’ for round 7 to give a different effect but it will look great if you don’t!

Remove the pillow insert. Lay your square on one side of your pillow and pin it in place around all sides. Using a strong cotton sewing thread, whip stitch around. Put your insert back in your pillow, fluff it up and enjoy!
You can see pictures of how I attached the front of a previous pillow in this post for Boho Pillow
What to make with Mini Grannies?
Traditional granny squares are often the first thing a beginner makes. You can use crochet granny squares to make blankets, bags, pillows etc. and you can use mini grannys for any of your square projects! They are so versatile, quick to make and there are so many options for different colours.
- Crochet a mini square blanket for a baby gift
- Make a small purse or pencil case
- Crochet some colourful coasters or placemats
Find more Free patterns here
If you make this pattern, don’t forget to follow me on Instagram and be sure to tag me in your photos so I can see it too, @anniedesigncrochet or #anniedesigncrochet – I can’t wait to see what colours you use with this pattern!
The photographs and pattern contained on this page are the property of Annie Design Crochet.com.
This pattern is for personal use only. You may sell items made from this pattern and giving credit to Anniedesigncrochet is appreciated!
No unauthorized reproduction, in whole or in part, or distribution of this pattern or content is permitted.

I love your mini-square cushion cover! Such b right and cheerful colours for the winter months! Thank you for sharing your pattern here!
Thank you Sandra! I appreciate your lovely comment x
I love all your patterns. It’s axing to find so many bohemian flowers to applique onto my projects. Thank you for putting such clear instructions with images as means I can see where I should attach and end off.
I’m guessing this is a long shot since this is an older post but any instructions on how to make triangle pieces of this for a bandana?? I’m trying to figure it out myself but I’m good at following patterns not making them!!
Hi! You can find the patterns for a triangle and a square in these 2 granny square bandana patterns. Hope that helps! This scarf uses fingering weight yarn – https://www.anniedesigncrochet.com/crochet-bandana-head-scarf-free-pattern/ and this scarf uses dk weight yarn – https://www.anniedesigncrochet.com/granny-square-bandana-free-crochet-pattern/