
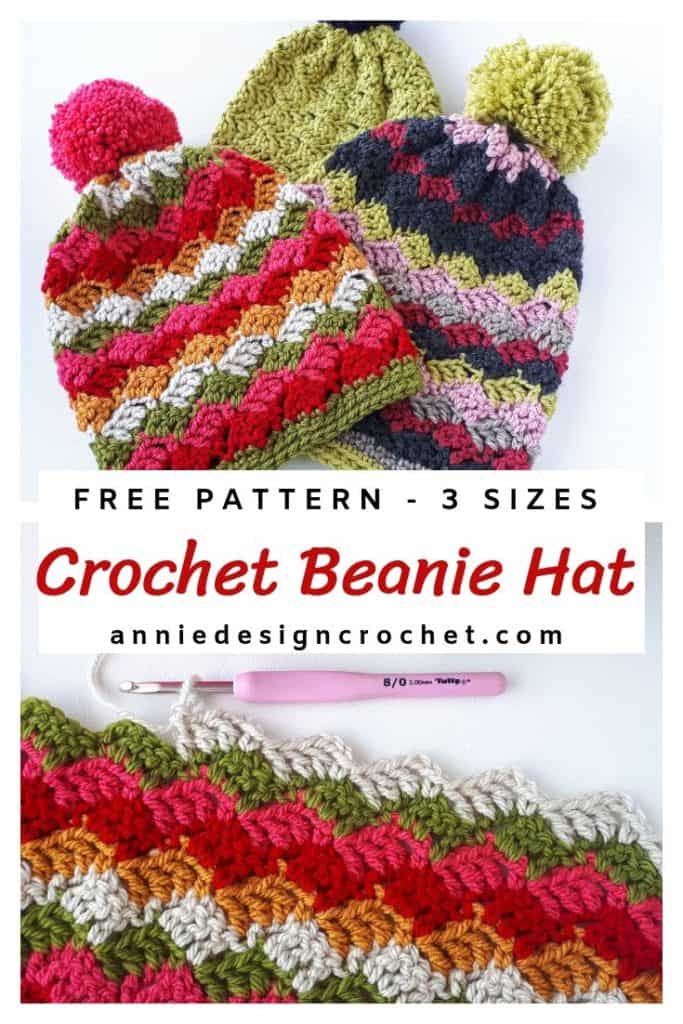
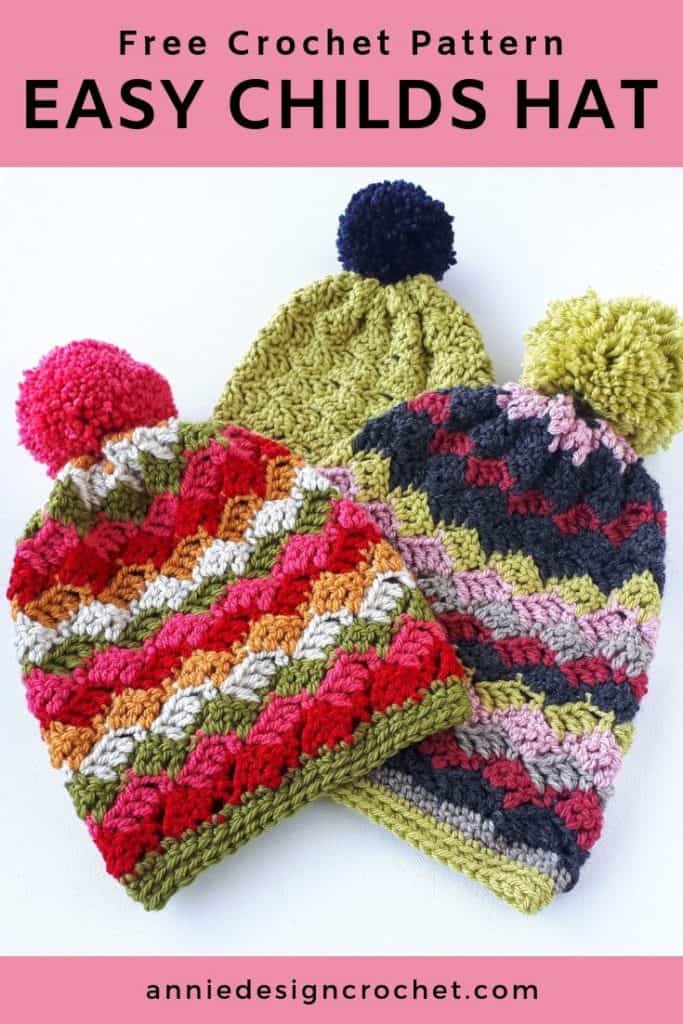
An easy crochet hat pattern for kids, that is simple and quick enough to make in an evening. It is soft and cosy but lightweight enough for warmer weather.
The free crochet pattern is more like a ‘recipe’, that you can adjust to suit any size you like. The instructions are for 3 sizes but the finished piece is stretchy enough to suit lots of little heads!
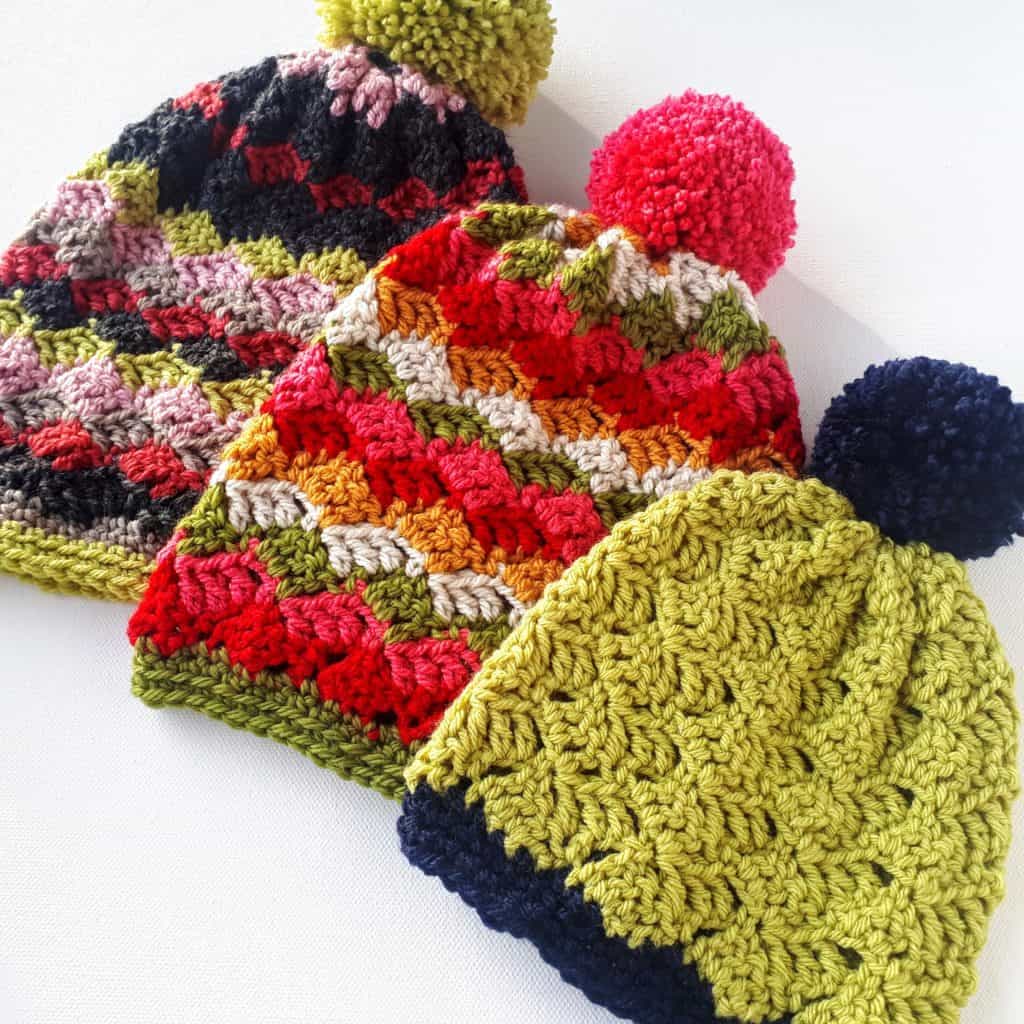
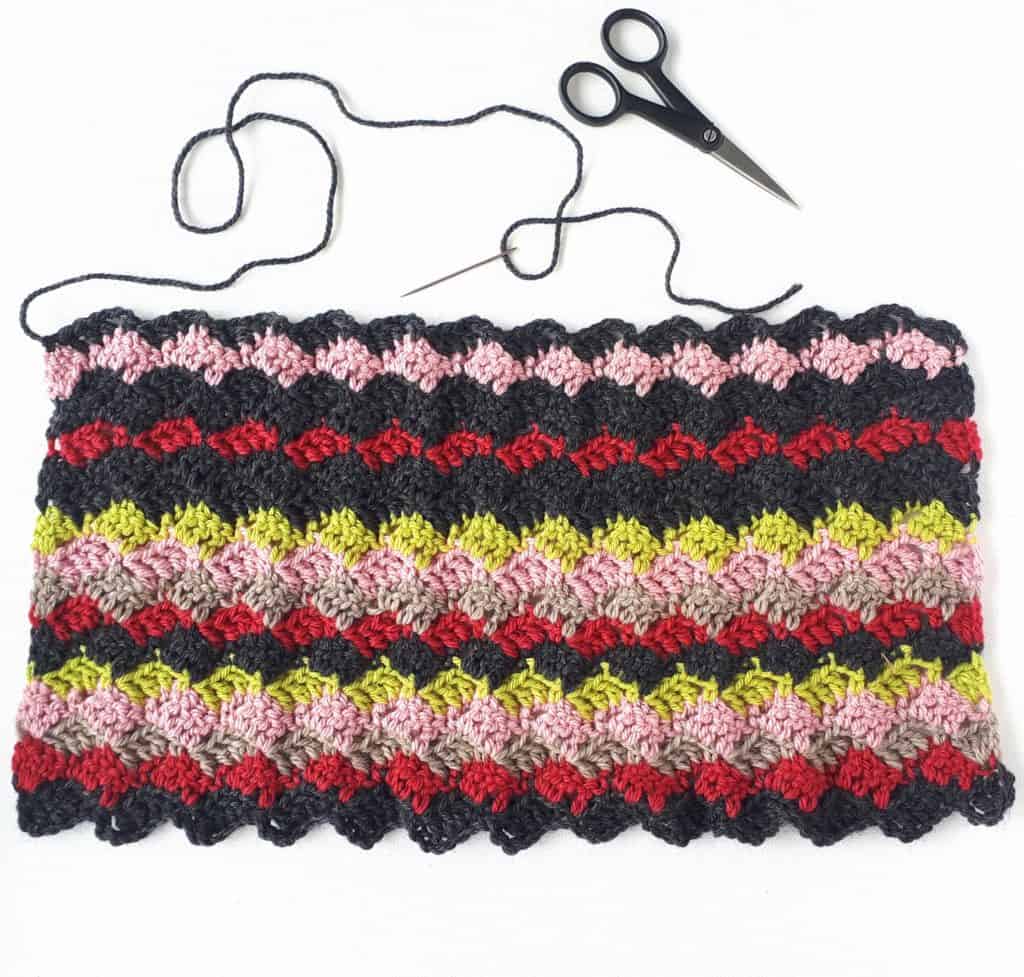
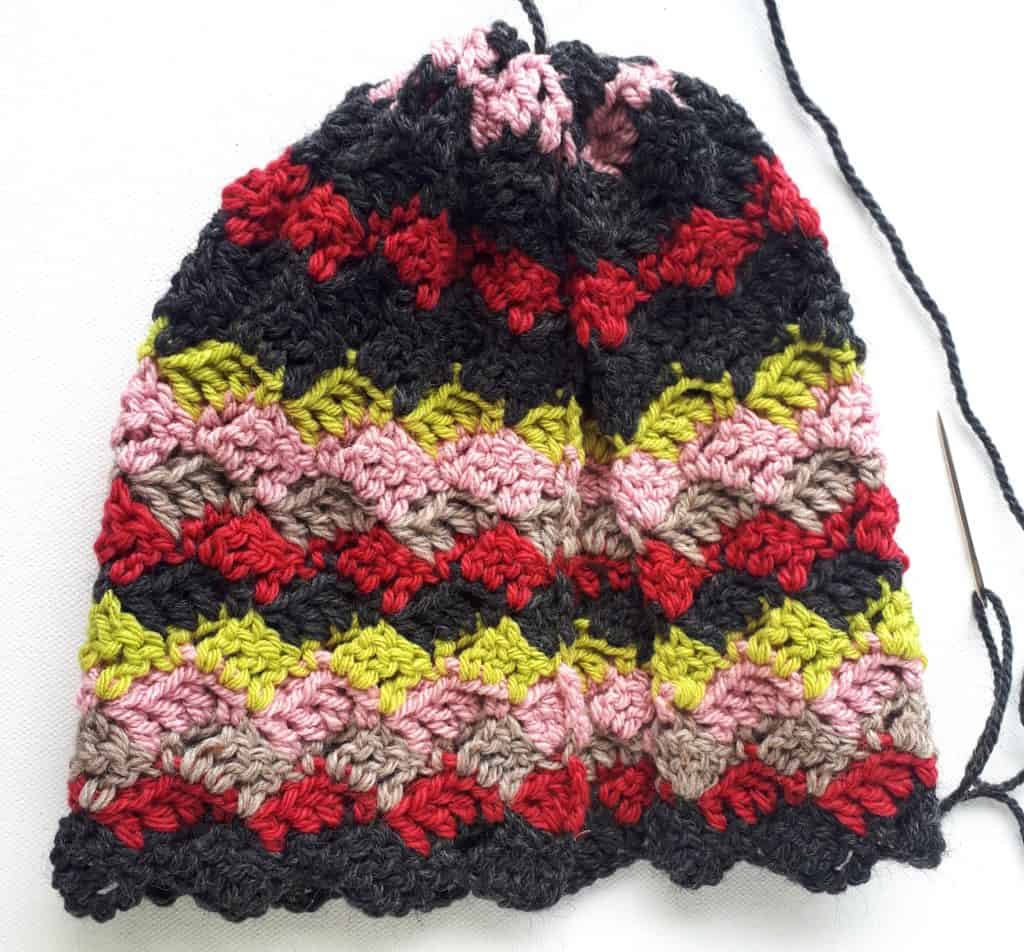
Rows of double crochet stitches, single crochet and chains form the easy pattern repeat. The pattern is a perfect way to use up scraps of Worsted Weight yarn in your stash. The hat requires no shaping – simply make a rectangle, then use a length of yarn to gather the piece at one end to close the crown.
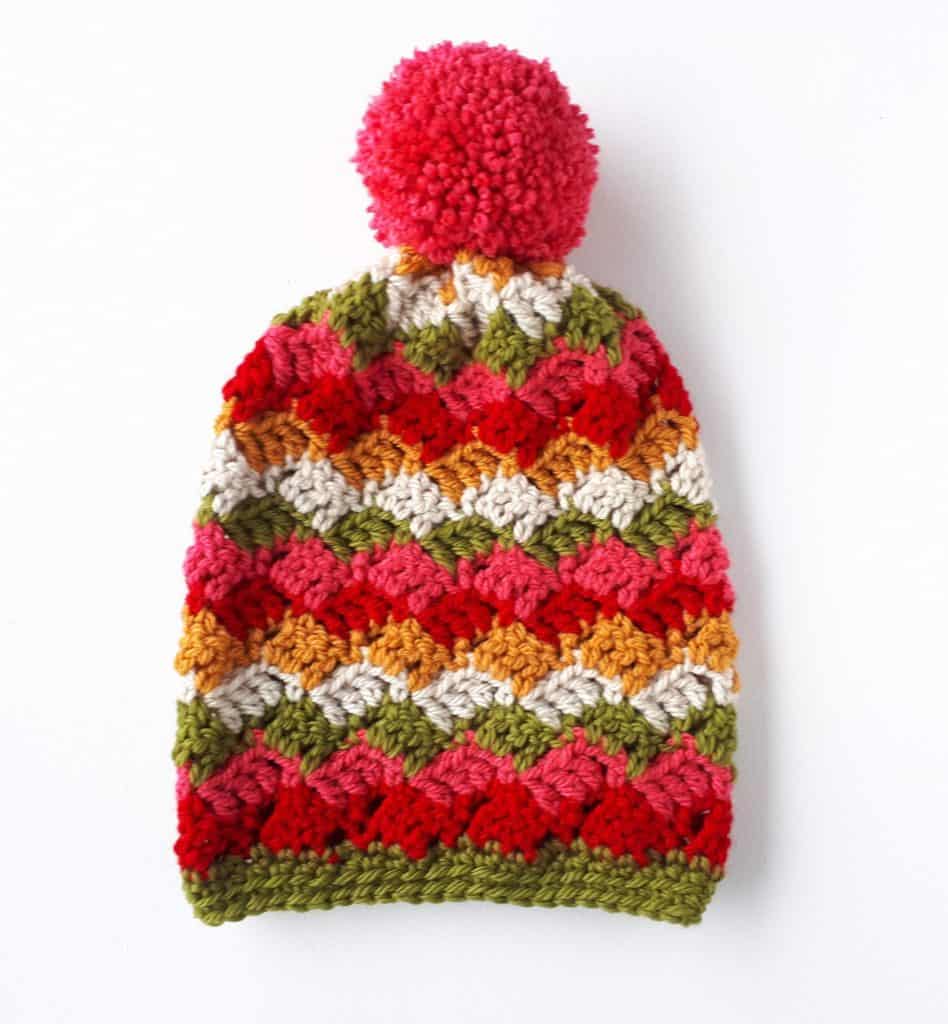
You will finish with a single crochet border and a fluffy pompom.
I posted a tutorial about the stitch I used for the hats a few weeks ago – Crosshatch Stitch, and wanted to use this lovely crochet stitch in a project since!
You can find the Stitch Tutorial and Chart for Crosshatch Stitch HERE
Add this pattern to your Ravelry Queue HERE
Notes
- I have included instructions for 3 sizes: 0 – 6 months, 1 – 4 years and 5 – 12 years. The hats are very stretchy and versatile to make. I included an approximate stitch count for the single crochet border but you could add or delete stitches easily to make a border band to fit.
- The pattern repeat is a multiple of 7 stitches
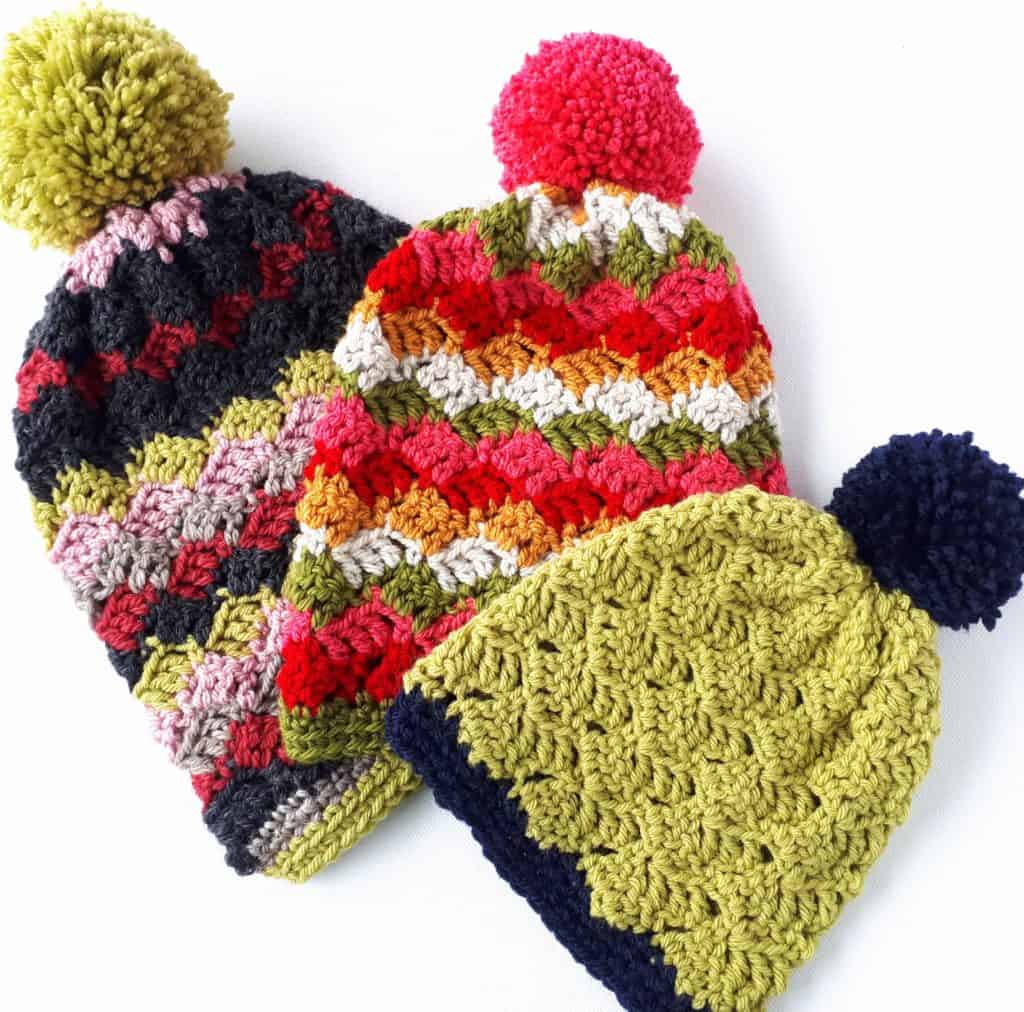
- You can make the hats in a single colour (as per hat pictured in 0 – 6 mths) or go really wild and make bright cheerful versions!
- Changing colours (work last st until there are 2 loops on hook, yarn over with new colour and draw through all loops to complete stitch)
Materials
- Small amounts of Worsted Weight Yarn. I used Stylecraft Special Aran
- 5mm and 4.5mm Crochet Hooks
- Darning Needle
- Pom Pom maker

Sizes
- 0 – 6 months: To fit approx. 14 inches (35cm) head circumferenceHat height: approx. 6.5 inches (16 cm)
- 1 – 3 year child: To fit approx. 16/17 inches (41/43cm) head circumferenceHat height: approx. 9 inches (23 cm)
- 4 – 12 year child: To fit 18/20 inches (approx. 46/48 cm ) head circumferenceHat height: approx. 10 inches (25 cm)
Abbreviations
US Crochet terms
- sc – single crochet
- dc – double crochet
- ch – chain
- st – stitch
- rep – repeat
- t-ch – turning chain
UK Crochet terms
- dc – double crochet
- tr – treble crochet
- ch – chain
- st – stitch
- rep – repeat
- t-ch – turning chain
Crochet Hat Instructions
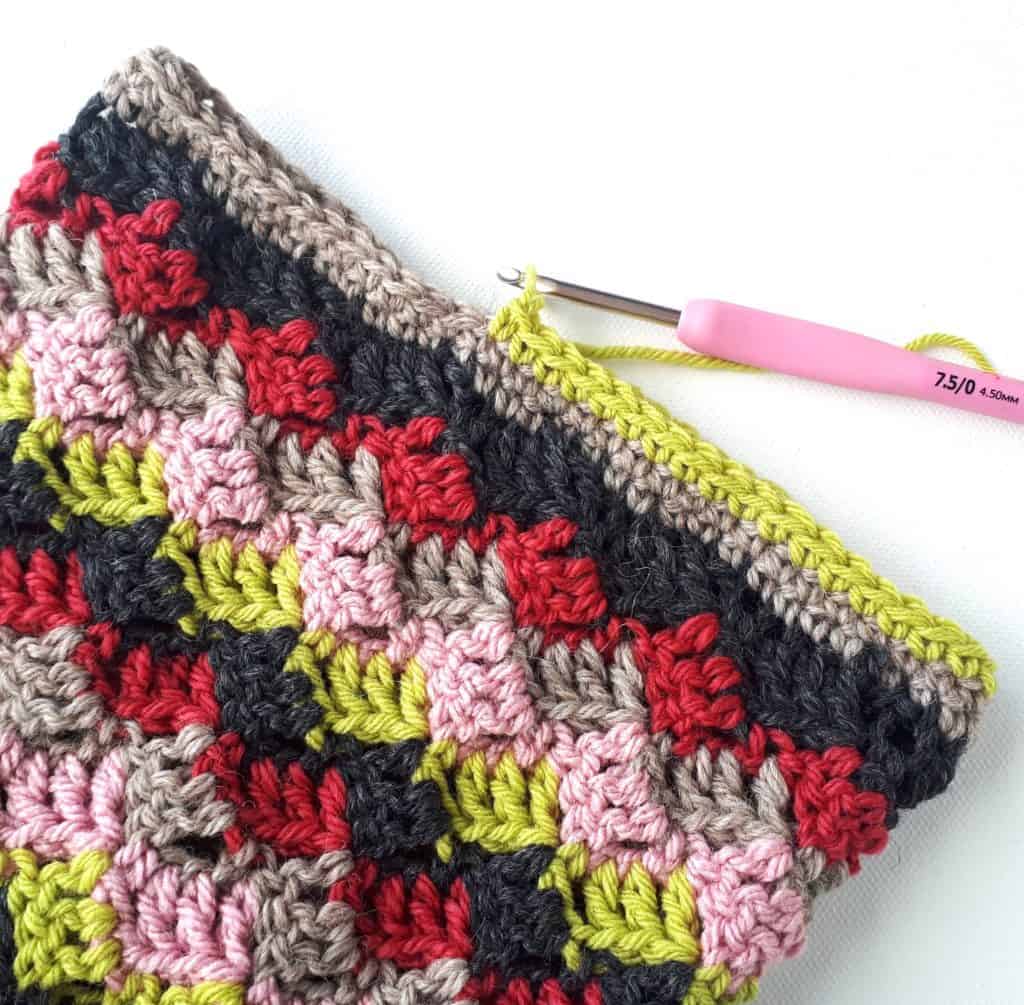
(You can see some ‘work in progress’ pictures in Instructions for 4 – 12 years further down page)
0 – 6 months
Using first colour and 5mm hook, ch 70
Row 1: 2 dc in 3rd chain from hook (counts as 3 dc), * skip next 3 chains, 1 sc in next ch, ch 3, 1 dc in each of next 3 chs; repeat from * to last 4 ch, skip next 3 chs, 1 sc in last chain. Fasten off yarn (* see notes on changing colours), turn.
Row 2 : Ch 3 (counts as 1 dc), 2 dc in first sc; * skip next 3 dc, 1 sc in first of next 3 ch, ch 3, 1 dc in each of next 2 ch, 1 dc in next sc; repeat from * ending by skipping last 2 dc, 1 sc in top of t-ch. Fasten off yarn, turn.
Repeat row 2 for a total of 11 rows, fasten off leaving a long tail. Weave in all threads.
Finishing
Thread yarn tail onto a yarn needle and weave in through the last row made. Pull yarn gently to tighten and close the top of the hat. Make a few extra stitches to close hole if necessary. Sew the side seams, matching as best you can (don’t worry, it will be hidden among all the rows!) Weave in all threads and turn hat right side out.
Using 4.5mm hook, attach yarn colour of your choice to the bottom of hat.
Round 1: Ch 1, sc evenly around the edge of the hat, making approx. 5 sts to each ‘box’ of the Crosshatch pattern. Join with a sl st to 1st sc made. Total approx. 45 sc
Rounds 2 & 3: Ch 1, sc in each st around. Join with a sl st to 1st sc made. Fasten off and weave in all threads. Add a pompom!
1 – 3 years
Using first colour and 5mm hook, ch 77
Row 1: 2 dc in 3rd chain from hook (counts as 3 dc), * skip next 3 chains, 1 sc in next ch, ch 3, 1 dc in each of next 3 chs; repeat from * to last 4 ch, skip next 3 chs, 1 sc in last chain. Fasten off yarn (* see notes on changing colours), turn.
Row 2 : Ch 3 (counts as 1 dc), 2 dc in first sc; * skip next 3 dc, 1 sc in first of next 3 ch, ch 3, 1 dc in each of next 2 ch, 1 dc in next sc; repeat from * ending by skipping last 2 dc, 1 sc in top of t-ch. Fasten off yarn, turn.
Repeat row 2 for a total of 15 rows, fasten off and weave in all threads.
Finishing
Thread yarn tail onto a yarn needle and weave in through the last row made. Pull yarn gently to tighten and close the top of the hat. Make a few extra stitches to close hole if necessary. Sew the side seams, matching as best you can (don’t worry, it will be hidden among all the rows!) Weave in all threads and turn hat right side out.
Using 4.5mm hook, attach yarn colour of your choice to the bottom of hat.
Round 1: Ch 1, sc evenly around the edge of the hat, making approx. 5 sts to each ‘box’ of the Crosshatch pattern. Join with a sl st to 1st sc made. Total approx. 50 – 55 sc
Rounds 2 & 3: Ch 1, sc in each st around. Join with a sl st to 1st sc made.
Round 4: Ch 1, sc in back loop only in each st around. Fasten off and weave in all threads. Add a pompom!
4 – 12 years
Using first colour and 5mm hook, ch 91
Row 1: 2 dc in 3rd chain from hook (counts as 3 dc), * skip next 3 chains, 1 sc in next ch, ch 3, 1 dc in each of next 3 chs; repeat from * to last 4 ch, skip next 3 chs, 1 sc in last chain. Fasten off yarn (* see notes on changing colours), turn.
Row 2 : Ch 3 (counts as 1 dc), 2 dc in first sc; * skip next 3 dc, 1 sc in first of next 3 ch, ch 3, 1 dc in each of next 2 ch, 1 dc in next sc; repeat from * ending by skipping last 2 dc, 1 sc in top of t-ch. Fasten off yarn, turn.
Repeat row 2 for a total of 17 rows, fasten off and weave in all threads.
Finishing
Thread yarn tail onto a yarn needle and weave in through the last row made. Pull yarn gently to tighten and close the top of the hat. Make a few extra stitches to close hole if necessary. Sew the side seams, matching as best you can (don’t worry, it will be hidden among all the rows!) Weave in all threads and turn hat right side out.
Using 4.5mm hook, attach yarn colour of your choice to the bottom of hat.
Round 1: Ch 1, sc evenly around the edge of the hat, making approx. 5 sts to each ‘box’ of the Crosshatch pattern. Join with a sl st to 1st sc made. Total approx. 60 – 65 sc
Rounds 2 & 3: Ch 1, sc in each st around. Join with a sl st to 1st sc made.
Round 4: Ch 1, sc in back loop only in each st around. Fasten off and weave in all threads. Add a pompom!
Add this pattern to your Ravelry Queue HERE
Find more Free patterns here
Pin this pattern for later!
No unauthorized reproduction, in whole or in part, or distribution of this pattern or content is permitted. If you make this pattern, don’t forget to follow me on Instagram and be sure to tag me in your photos so I can see it too, @anniedesigncrochet or #anniedesigncrochet – I can’t wait to see what colours you use with this pattern!

Unless I’m missing something, I can’t seem to find Row 3.
Hi Lou. The pattern should have said repeat row 2. I recently updated that pattern and I may have changed it in error. Thank you so much for letting me know! It is fixed now xx
Do you have instructions for adult sizes?
The largest size in the pattern will fit an adult:)
I want to thank you for a lovely hat pattern that works up quickly. I plan to attach some of your flowers and maybe a heart or two. I’m currently going through chemo and radiation and I know I’m going to lose my hair. The treatment center has a volunteer group that provides wigs, hats or scarves to many women and I think the large one will be perfect to share. I can already feel how warm and cozy these hats will be. A definite 5 🌟 for this pattern.
I am so pleased you enjoyed the pattern. It is easy and cozy when finished. Wishing you the very best for your treatment and thank you for your lovely comment x
A group of us in our Temple are making hats, mittens, and scarves for 3-4 year old children who attend our public preschool who are disadvantaged and do not have good winter gear. May I have permission to print the instructions to share with people in the group who would rather crochet that knit a hat?
Hi! That is fine. A link back to the blog post is also always appreciated. Happy crocheting!
Thank you!