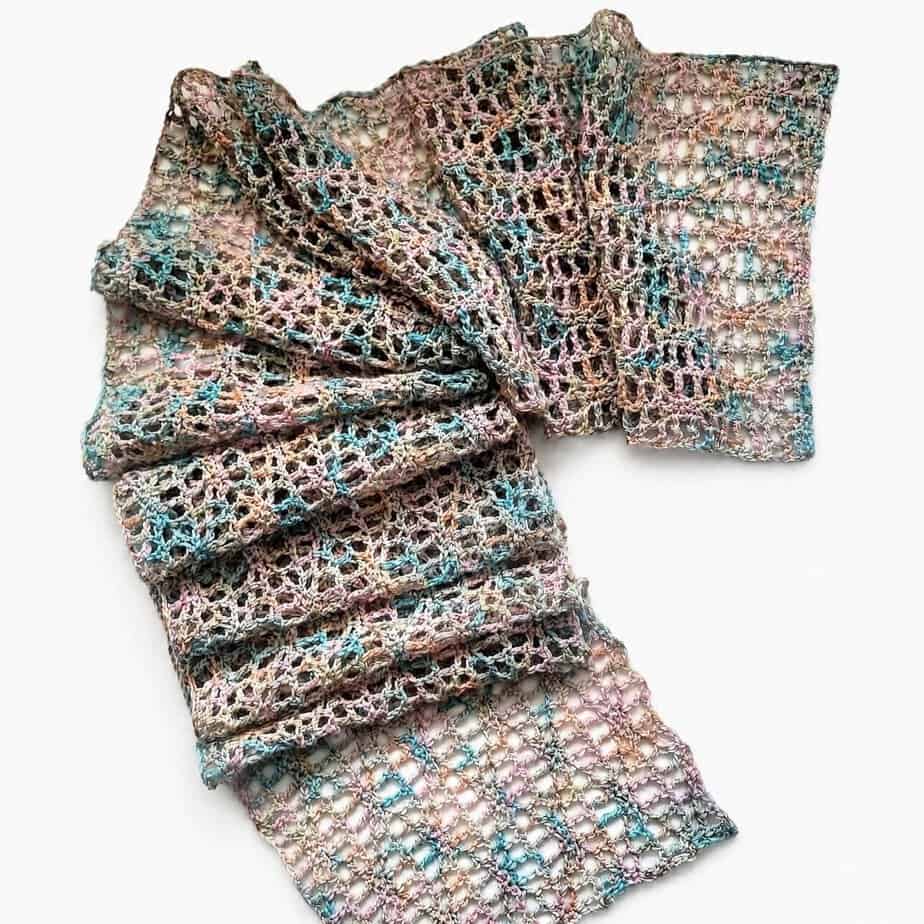
Looking for a light, lacy scarf that feels as lovely to wear as it is to crochet? The Frost Drift Scarf is a soft, floaty crochet wave stitch scarf made with just one skein of fingering weight yarn. Gentle waves ripple along its length, creating a delicate, airy fabric that’s so light you’ll hardly know you’re wearing it.
The simple 4-row repeat makes this a lovely, relaxing project, and it’s suitable for a confident beginner. It has quickly become my new favorite scarf, and I keep reaching for it every time I head out the door! Keep reading to find the free crochet wave stitch scarf pattern below.
Pattern Overview
- Skill Level: Confident Beginner
- Yarn: 437yds [400m] of fingering weight (#1) yarn, one skein
- Hook: 3.5mm crochet hook
- Finished size: 74in [188cm] long x 8in [20cm] wide, lightly blocked
Stash to Sparkle Blog Hop
This lacy crochet scarf is the third pattern in the Stash to Sparkle 2026 blog hop! Stash to Sparkle is a 4-week festive blog hop running from 28th October to 25th November, with 8 free stash-busting crochet projects from me and Lynne at Knit Crochet Create. I will be sharing a new pattern every Wednesday and Lynne will share one every Saturday.
You can find all the details and each new pattern as it is released in our Stash to Sparkle Christmas crochet blog hop post.
It will be a great way to use up your yarn stash, try some new color combinations and make quick festive projects before the holidays.
Ways to Style your Crochet Wave Stitch Scarf
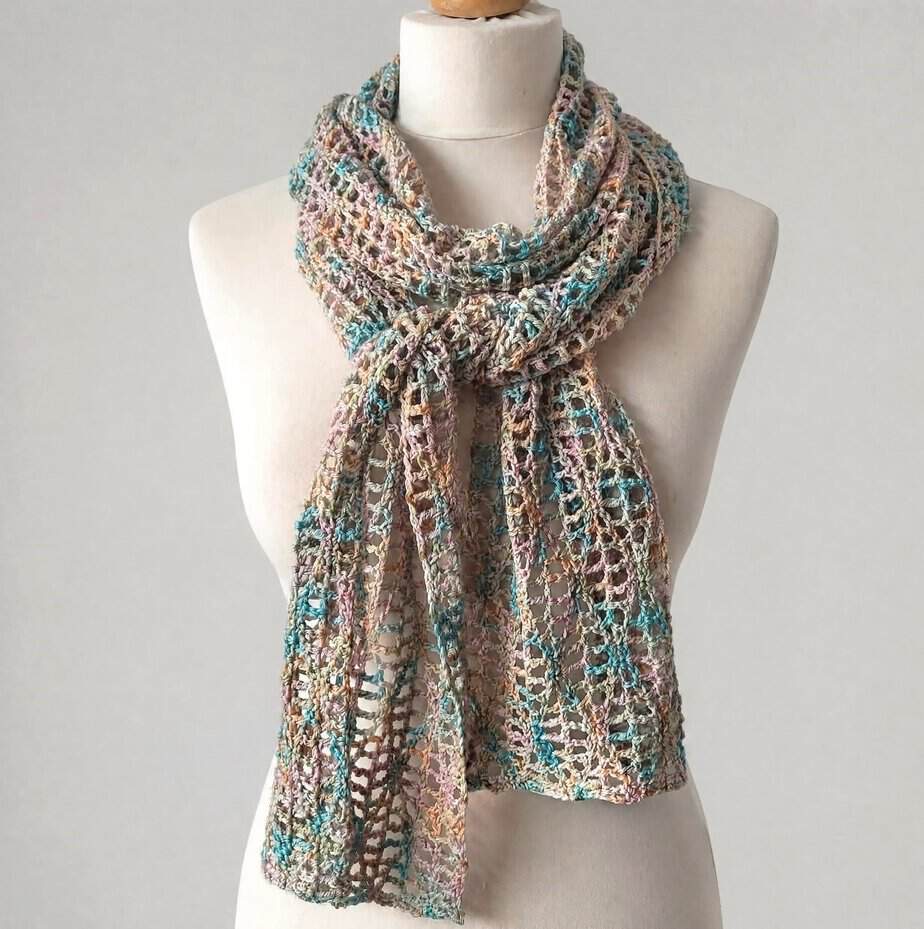
Light neck scarves are everywhere at the moment, and I can see why. They add a little pop of color and softness to an outfit without the bulk of a chunky winter scarf. Frost Drift is long and floaty, so you can style it lots of different ways.
- Wrapped: loop it around your neck once or twice and let the ends hang loose
- Knotted: wrap it twice and tie a loose knot at the front for a neckerchief-style look
- Looped: fold it in half, place it around your neck and pull the ends through the loop
It is a lovely layer for crisp winter days under a coat, and just as nice on cool summer evenings.
- Free Crochet Pattern: scroll down the blog post for the pattern instructions.
- Printable PDF: Ad-free PDF pattern including all details of pattern including a crochet chart. Thank you for your support! Purchase on Ravelry and on Etsy
How the Crochet Wave Stitch Works
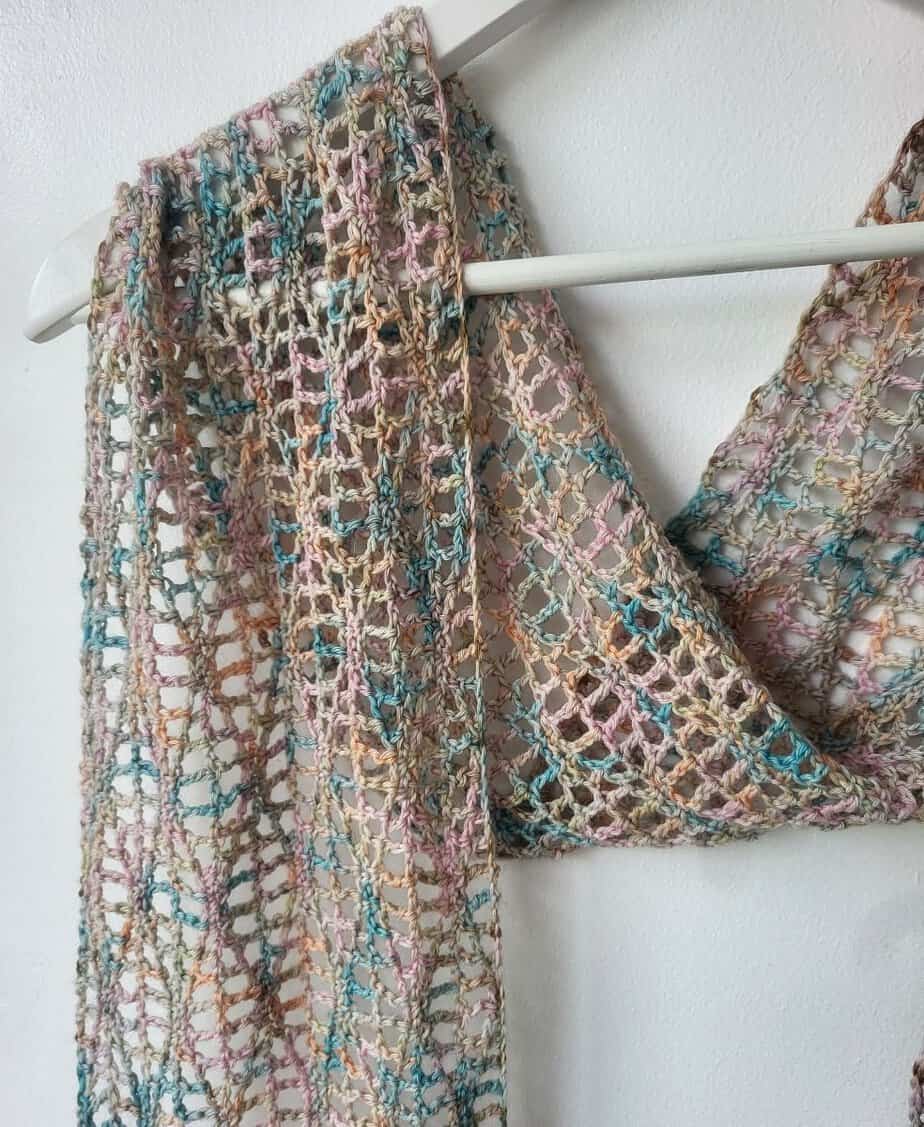
If you have never tried the wave stitch before, this scarf is a good introduction. The waves come from changing the height of your stitches across the row. You start with short single crochets, then work up through half double crochet and double crochet to tall trebles, then back down again.
On the next rows, the tall stitches sit on top of the short ones and the short stitches sit on top of the tall ones. This fills in the dips and creates that soft rippling wave.
What makes this version so light is the chain 1 between every stitch. It opens up the fabric into airy lace, so the scarf drapes beautifully. You always work into the stitch from the previous row, not the chain 1 space, which keeps everything lined up. The first row needs some careful counting and a bit of focus, so pick a quiet moment to start.
You might recognize this stitch from my Inishfree Shawl, a lacy rectangle wrap. I loved it so much that I wanted to bring it back in a lighter scarf you can wear every day.
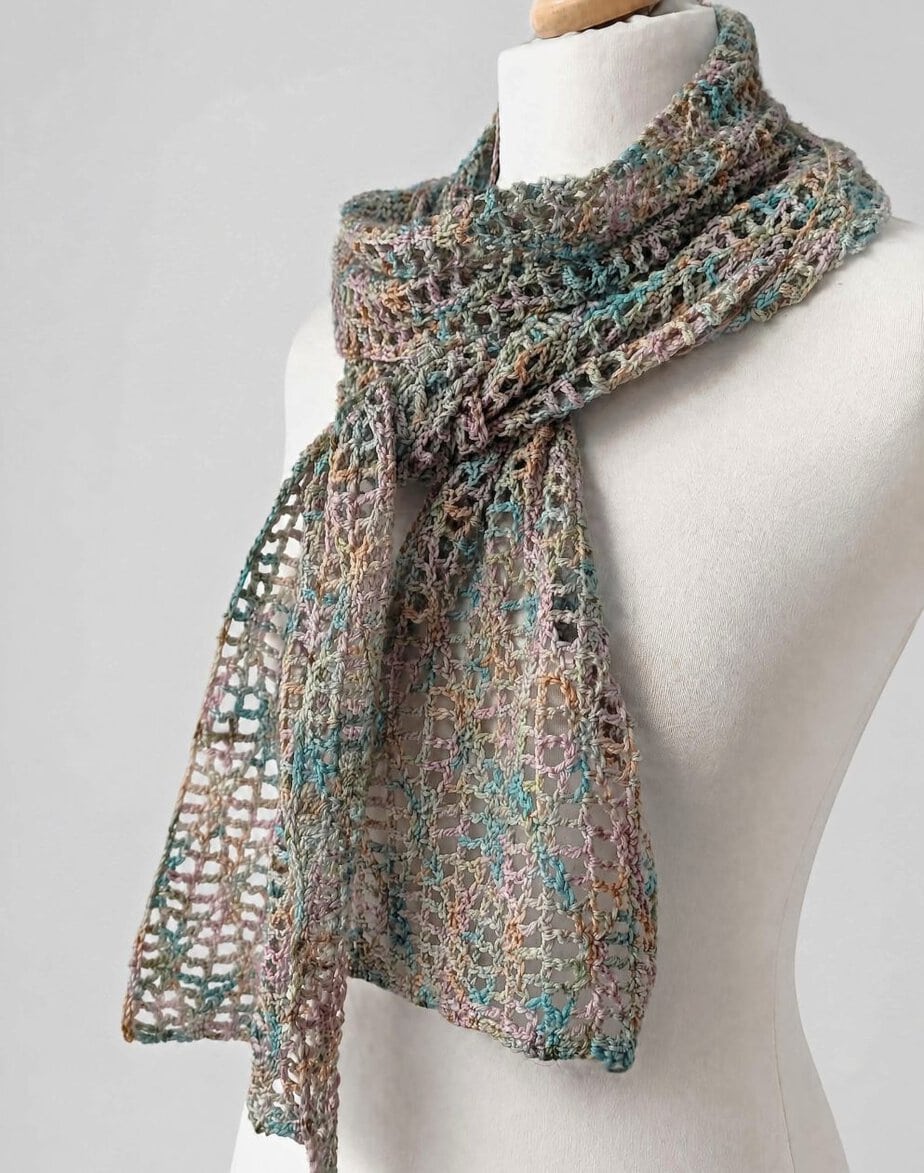
Why You Will Love This Crochet Wave Stitch Scarf
- Uses just one skein of fingering weight yarn
- Creates an airy scarf that’s comfortable to wear year-round
- Uses basic stitches in a simple 4-row repeat
- Includes a crochet chart in the PDF pattern
- Makes a thoughtful gift for someone special
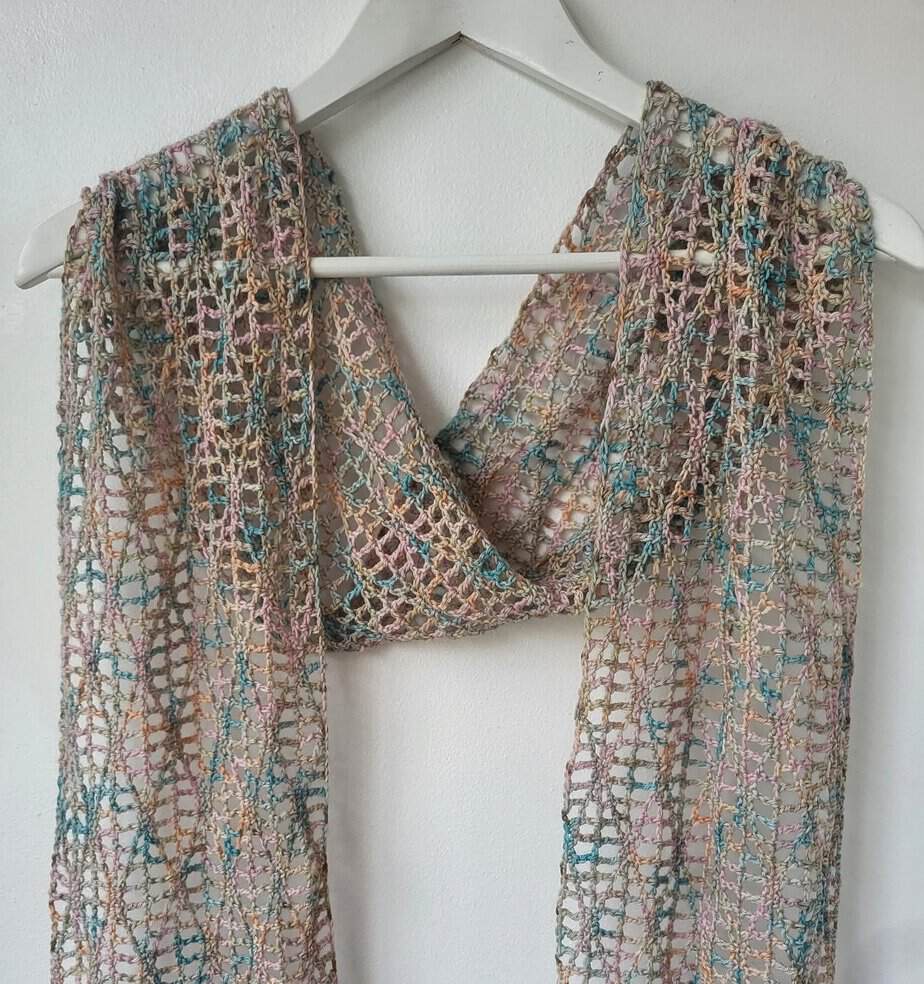
Yarn Suggestions for the Crochet Wave Stitch Scarf
I used the following yarn and hook for my scarf:
- 437yds [400m] fingering weight yarn
- 3.5mm crochet hook
I used Republic of Yarnia Merino Fingering Sock in the color Monastic Sunset. It is a soft speckled yarn with flecks of teal, pink and gold on a pale base. Merino is warm, soft against your neck and gives the lace a lovely drape.
The pattern looks pretty in a gentle neutral, and speckled, variegated or self-striping yarns work well too, as the lacy waves show off the color changes nicely. A skein of any fingering weight or sock yarn will work. You will need approx. 437yds [400m].
This is a great one to make with a special skein from your stash that you have been saving!
Tips for Crocheting the Frost Drift Scarf
- The long starting chain: the foundation chain is 402 stitches, which can feel a bit daunting. Place a stitch marker every 50 chains to make counting easier.
- A neater edge: the pattern uses a Stacked Treble at the start of the treble rows. It gives a tidier edge than a turning chain, but you can ch 4 instead if you prefer.
- Yarn amount: the scarf uses almost all of a 400m skein. If you make it longer or wider, you will need extra yarn.
- Blocking: a light wet block opens up the lace and makes the waves really stand out.
More Wave Stitch and Lacy Scarf Patterns
If you enjoyed the wave stitch, try it on a bigger project, or browse more of my lacy and winter scarf patterns:
- Loganberry, a crochet wave shawl pattern
- Vanilla Blush, a wave stitch baby blanket
- Pink Riff, a one-skein wonder using fingering weight yarn
- Riffle, a lacy crochet neck scarf
- 21 crochet winter scarf patterns
- See all 16 of my free crochet lace scarf patterns
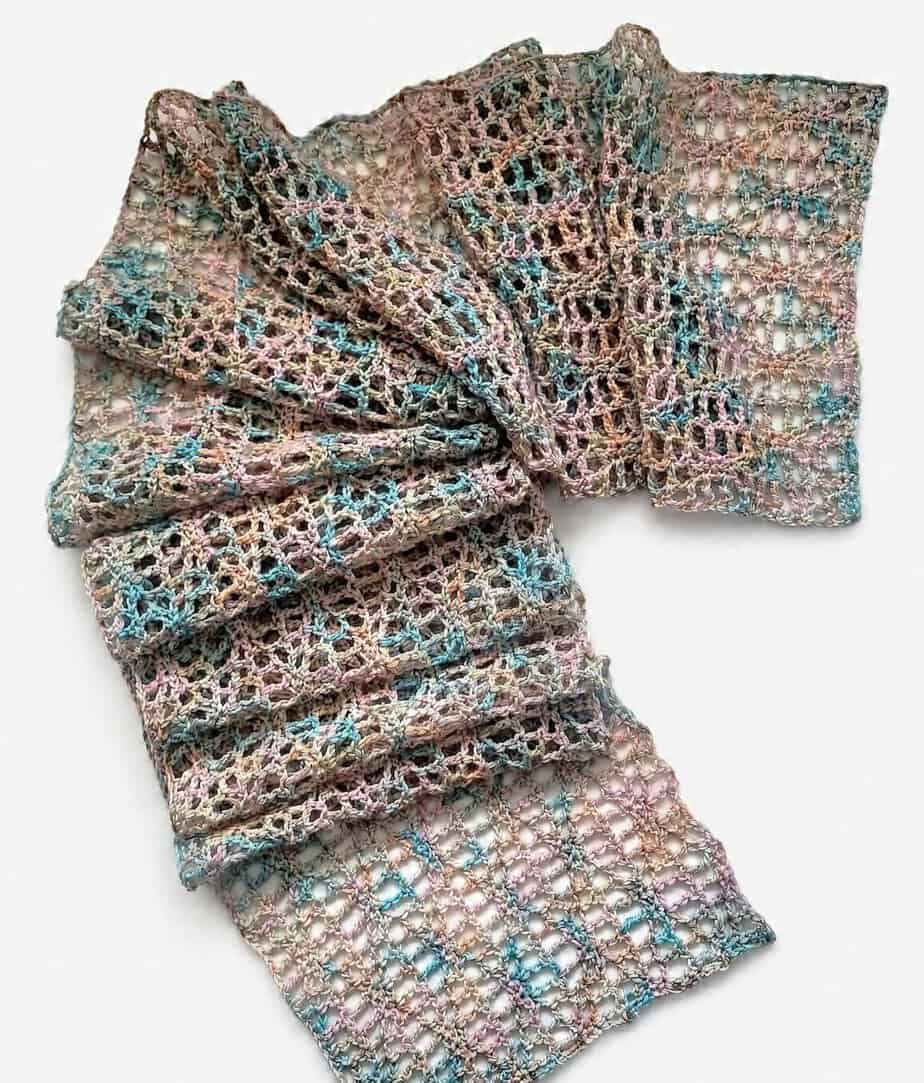
Free Crochet Pattern for the Lacy Wave Stitch Scarf
Soft, floaty and so easy to wear, the Frost Drift Scarf uses just one skein of fingering weight yarn. Pick a gentle neutral or a pretty speckled yarn and let the lacy waves do the rest.
Once the simple 4-row repeat is set up, it is a lovely, relaxing make. Wear it wrapped, looped or knotted, and it will become your go-to scarf all year round.
Materials
- Republic of Yarnia – Merino fingering sock – 100% merino wool/ 437yds/400m/100g
- One skein in the colorway Monastic Sunset
- 3.5 mm crochet hook
- Stitch markers
You can use approx. 400m of any fingering weight yarn to make this design
Notes
- This design has a long starting chain which can be a bit daunting. Tip: Placing stitch markers every 50 chains can be very helpful to keep stitch count on the foundation chain.
- The pattern uses a Stacked tr at the start of tr rows for a neater edge. If you prefer, you can ch 4 instead. Both count as 1 tr.
- You will always crochet into the stitch from the previous row, NOT the ch-1 space.
- Concentration is required for the first few rows. Once the 4-row pattern repeat is established, relax and enjoy!
- Pattern is a 16-st repeat. Chain a multiple of 16 + 2 sts.
Abbreviations
US Crochet Terms
- Sc – single crochet
- Hdc – half double crochet
- Dc – double crochet
- Tr – treble crochet
- Ch – chain
- Rep – repeat
- Beg – beginning
- St(s) – stitch(es)
Measurements
74in [188cm] long x 8in [20cm] wide
Gauge
22 sts x 11 rows in pattern = 4 in [10cm]
Stacked Treble (Stacked tr)
This is a neat alternative to the ch 4 at the beginning of a row. It gives a tidier edge than a turning chain.
- Turn your work. Do not chain.
- Work 1 sc in the first stitch.
- Insert your hook into the left vertical leg of the sc you just made, yarn over and pull up a loop, yarn over and pull through both loops (2nd sc made).
- Repeat Step 3 once more, working into the left leg of the second sc (3rd sc made).
You now have 3 sc stacked on top of each other, which is the same height as a treble.
Printable PDF: Ad-free PDF pattern including a crochet chart. Thank you for your support! Purchase on Ravelry and on Etsy
Wave Stitch Scarf Instructions
Using a 3.5mm hook, ch 402
Row 1 (set up row): 1 sc in 2nd ch from hook, * 1 sc in next ch, ch 1, skip 1 ch, 1 hdc in next ch, ch 1, skip 1 ch, 1 dc in next ch, ch 1, skip 1 ch, [1 tr in next ch, ch 1, skip 1 ch] 2 times, 1 dc in next ch, ch 1, skip 1 ch, 1 hdc in next ch, ch 1, skip 1 ch, 1 sc in next ch, ** ch 1, skip 1 ch; rep from * across, ending last rep at **, 1 sc in last ch, turn – 401 sts
Row 2: Stacked tr or ch 4 (counts as 1st tr here and throughout pattern), * 1 tr in next st, ch 1, 1 dc in next st, ch 1, 1 hdc in next st, ch 1, [1 sc in next st, ch 1] 2 times, 1 hdc in next st, ch 1, 1 dc in next st, ch 1, 1 tr in next st, ** ch 1; rep from * across, ending last rep at **, 1 tr in last st, turn.
Row 3: Stacked tr or ch 4, * 1 tr in next st, ch 1, 1 dc in next st, ch 1, 1 hdc in next st, ch 1, [1 sc in next st, ch 1] 2 times, 1 hdc in next st, ch 1, 1 dc in next st, ch 1, 1 tr in next st, ** ch 1; rep from * across, ending last rep at **, 1 tr in last st (top of Stacked tr or ch 4), turn.
Row 4: Ch 1, 1 sc in 1st st, * 1 sc in next st, ch 1, 1 hdc in next st, ch 1, 1 dc in next st, ch 1, [1 tr in next st, ch 1] 2 times, 1 dc in next st, ch 1, 1 hdc in next st, ch 1, 1 sc in next st, ** ch 1; rep from * across, ending last rep at **, 1 sc in last st, turn.
Row 5: Ch 1, 1 sc in 1st st, * 1 sc in next st, ch 1, 1 hdc in next st, ch 1, 1 dc in next st, ch 1, [1 tr in next st, ch 1] 2 times, 1 dc in next st, ch 1, 1 hdc in next st, ch 1, 1 sc in next st, ** ch 1; rep from * across, ending last rep at **, 1 sc in last st, turn.
Rows 2-5 form pattern
Rep Rows 2-5 until you have 21 rows in total or reaching width required.
Weave in all ends, and block lightly.
Blocking your Scarf
A wet block helps the lace stitches open up and gives your scarf a lovely drape. Soak the scarf in cool water with a little wool wash, then gently squeeze out the water. Roll it in a clean towel and press to remove as much water as you can.
Lay it flat on blocking mats, gently shape it to size and pin along the edges. Leave it to dry completely before unpinning.
PIN FOR LATER
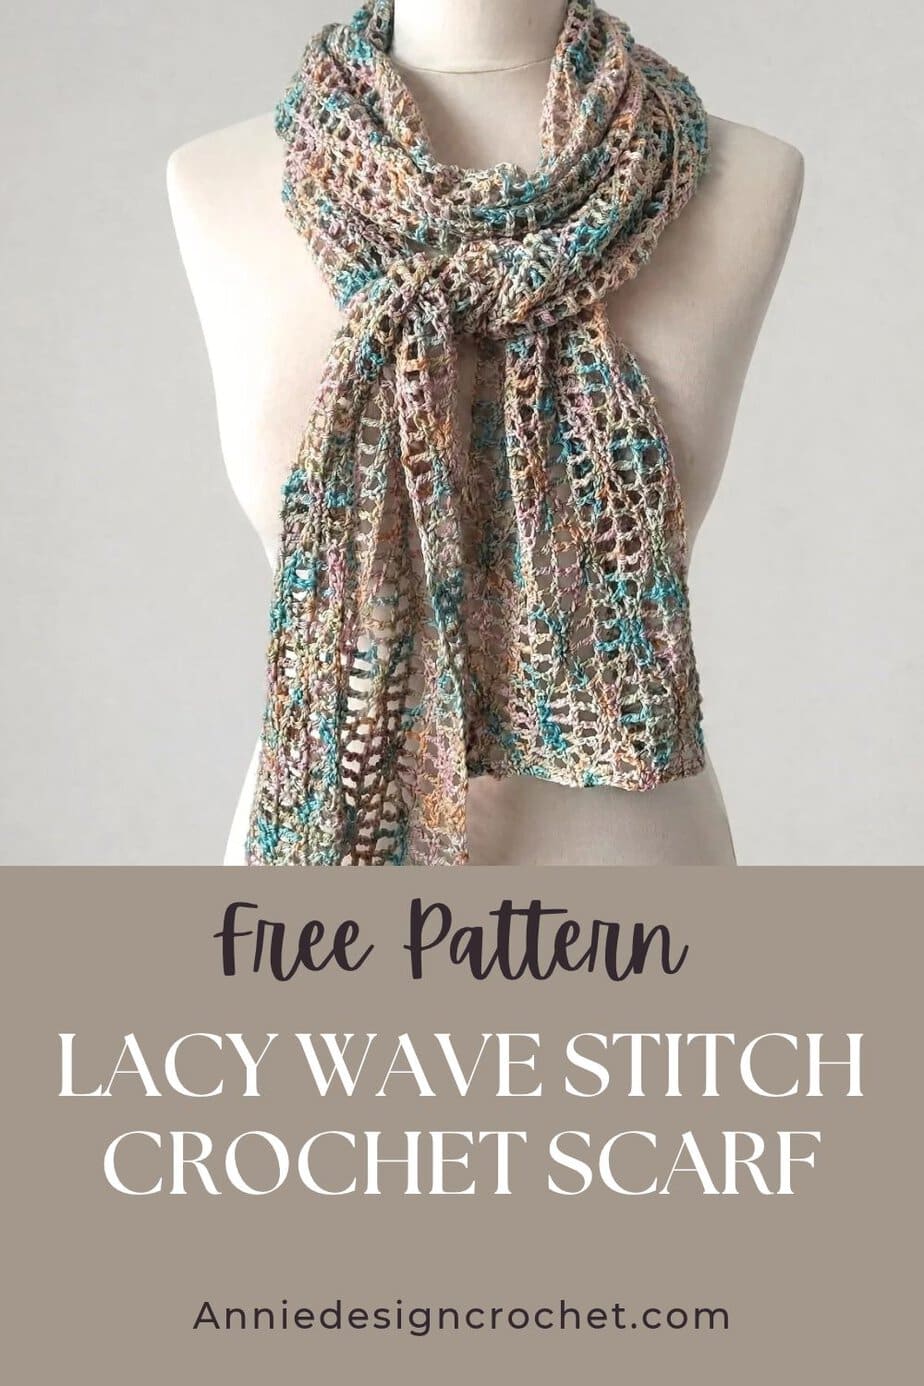
Don’t forget to follow me on Instagram and be sure to tag me in your photos so I can see it too, @anniedesigncrochet or #anniedesigncrochet – I can’t wait to see what colours you use with this pattern!
The photographs and pattern contained on this page are the property of Annie Design Crochet.com.
You are welcome to use this pattern to make items to sell, and I would appreciate that you include a link to the free pattern with credit for the designer, thank you!
No unauthorized reproduction, in whole or in part, or distribution of this pattern or content is permitted.
Carmen, I started following you years ago when I began my crochet journey. I love all your patterns! Thank you for today’s freebie!
Aw thank you! That is so lovely to hear!
Thank you for all your hard work and sharing. 🩷
Looks very effctive!
Impressive piece-I look forward to making it!